Applying your daily wellness patch might seem like a simple peel-and-stick task, but where you place it is just as important as remembering to put it on. Consistently applying a patch to the same spot can lead to skin irritation, reduced patch effectiveness, and discomfort. Rotating the application sites for your daily wellness patches is crucial for maintaining optimal skin health, ensuring consistent ingredient absorption, and maximizing the benefits of the technology. This practice prevents skin sensitivity and allows each area to recover, ensuring a seamless and effective wellness routine.
On This Page
Why Is Rotating Patch Sites Essential for Your Skin?
Your skin is a dynamic, living organ that acts as a protective barrier. When you apply a transdermal patch, the adhesive holds it in place while its active ingredients are absorbed. However, leaving a patch on for an extended period—and repeatedly applying new ones to the same location—can compromise this barrier. The adhesive and the continuous coverage can lead to several skin issues.
One of the primary concerns is contact dermatitis. This is a form of skin inflammation that can occur from repeated exposure to the patch’s adhesive. Symptoms might include redness, itching, swelling, or even small blisters. By systematically changing the application spot, you give each area of your skin a much-needed break. This recovery period allows the skin to breathe, repair its natural barrier, and reduce the likelihood of irritation. Forgetting to rotate is like wearing a band-aid on the same spot for weeks; eventually, the skin underneath will become pale, macerated, and unhealthy.
How Does Site Rotation Impact Patch Effectiveness?
The goal of using a wellness patch is to receive a consistent, steady stream of its beneficial ingredients. The condition of your skin directly influences how well this process works. Rotating application sites is a key strategy to ensure you get the most out of every single patch.
Maximizing Absorption Rates
For a patch to work optimally, its ingredients must pass through the epidermis to be utilized by the body. Healthy, intact skin facilitates this process beautifully. However, if the skin in a particular area becomes irritated, inflamed, or its pores get clogged with adhesive residue, absorption can be significantly hindered. The ingredients may not be able to penetrate a compromised skin barrier effectively, leading to diminished results. Moving the patch to a fresh, healthy skin area ensures a clean slate for absorption, allowing for consistent and predictable effectiveness day after day.
Bypassing the Compromised Skin Barrier
Think of your skin as a gateway. When a patch is applied to the same spot repeatedly, that gateway can become partially blocked. The outer layer of skin (stratum corneum) might become saturated or damaged. By rotating to a new location, you are essentially choosing a different, fully functional gateway. This ensures that the technology within the patch, such as Teseu’s innovative Bio-Frequency Technology, can interact with your body as intended without being impeded by localized skin issues. Fresh skin equals optimal performance.
What Are the Best Practices for Patch Application?
Achieving the best results from your wellness patches involves more than just rotation. A methodical approach to application can enhance both comfort and efficacy. Following a few simple steps ensures your patch stays put and works its best.
Choosing the Ideal Location
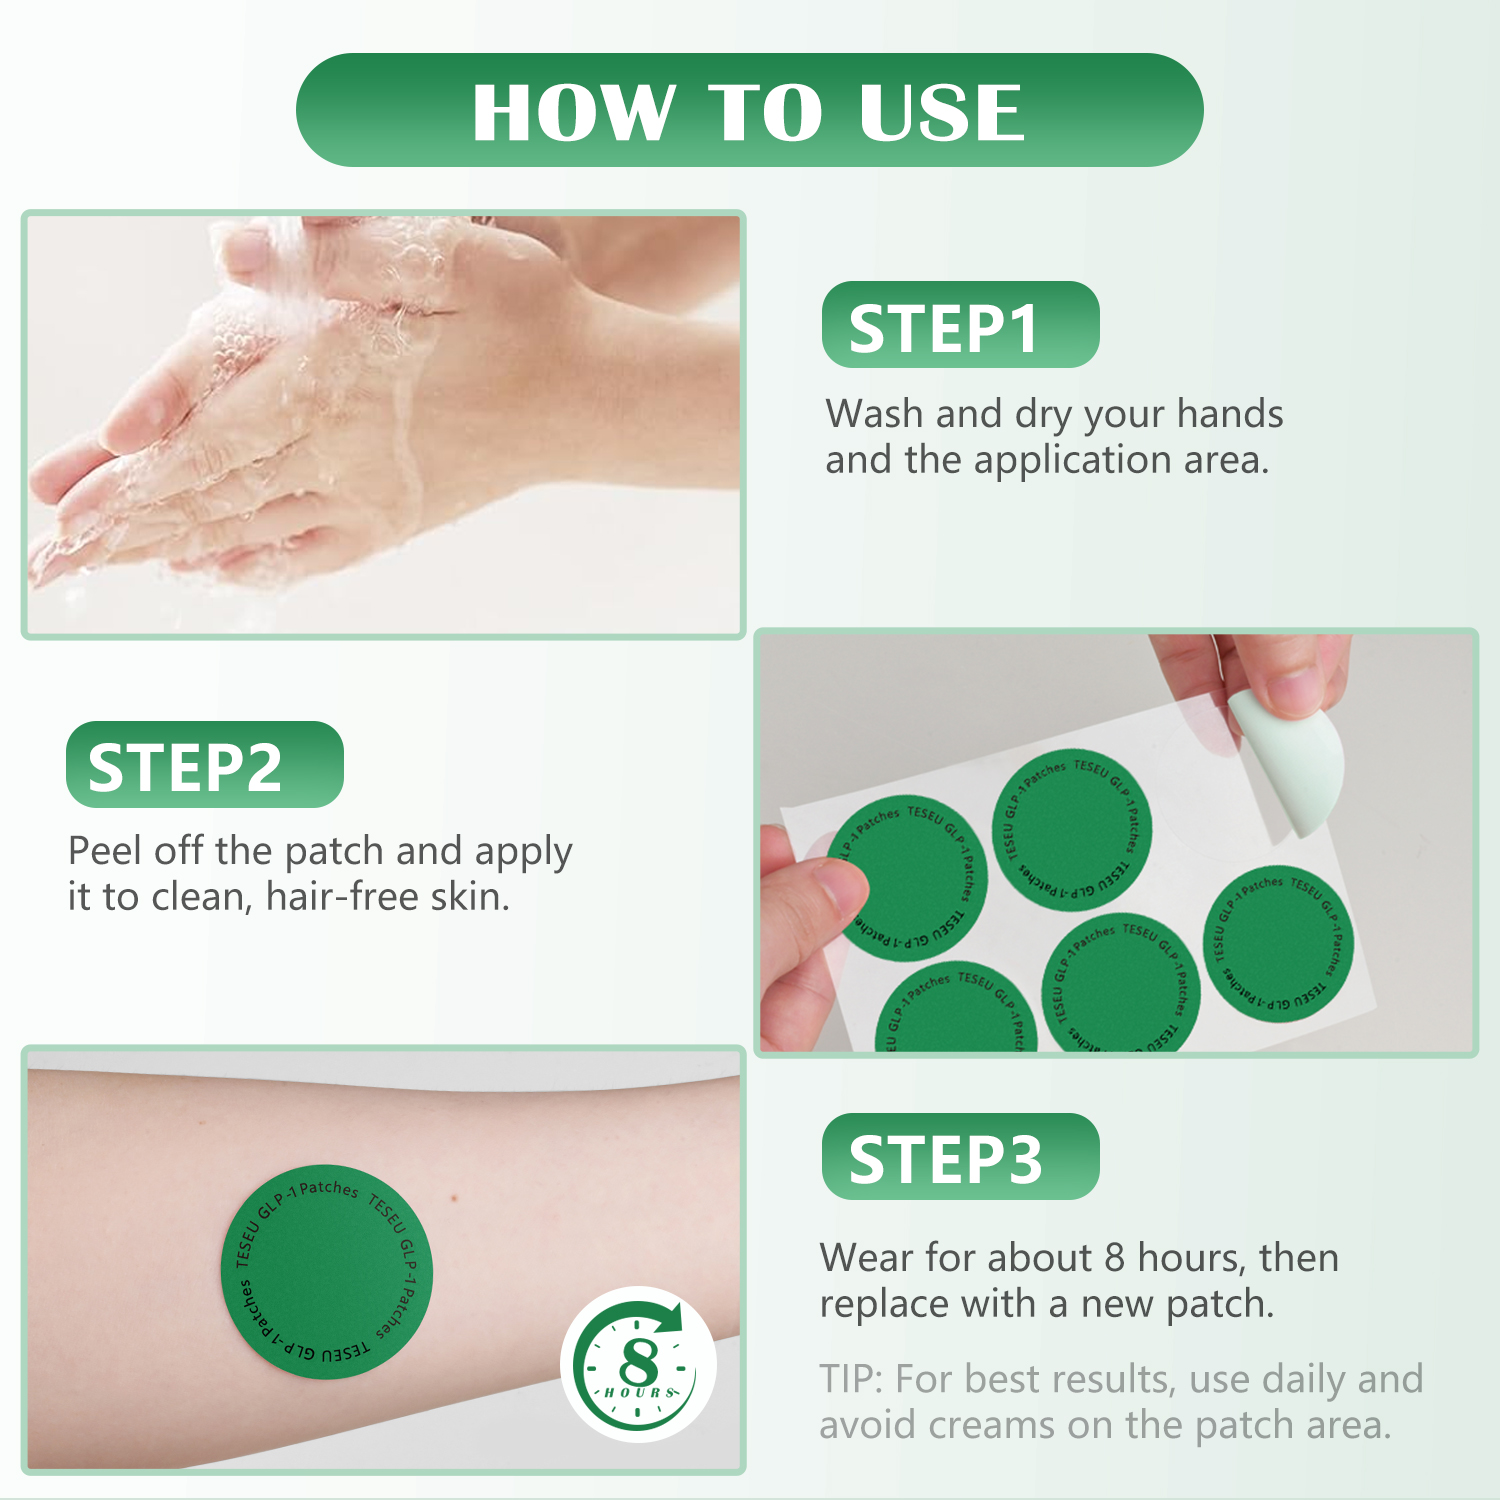
The best spots for wellness patches are areas with minimal hair, little oil, and no irritation, cuts, or sores. The area should also be one that doesn’t bend or flex excessively, which could cause the patch to loosen or fall off. Common and effective locations include the upper chest, back, upper arm, shoulder, abdomen, and hip. Clean, dry skin is the perfect canvas for your patch.
Preparing Your Skin Correctly
Before applying a new patch, always ensure the chosen site is clean and completely dry. Wash the area with simple soap and water—avoiding oily soaps, lotions, or creams, as these can interfere with the adhesive. Pat the skin dry with a clean towel. Do not apply a patch to skin that is still damp. A clean, dry surface is non-negotiable for proper adhesion and function.
Creating a Rotation Schedule
To make rotation easy and prevent accidental reuse of a site, create a simple schedule. You can mentally divide an area into quadrants (e.g., upper-left abdomen, upper-right abdomen, lower-left abdomen, lower-right abdomen) and rotate through them. Alternatively, you can alternate between different body parts daily—left shoulder on Monday, right shoulder on Tuesday, upper back on Wednesday, and so on. A simple clockwise pattern on a larger area of skin can be an easy-to-remember system.
Where Are the Optimal Places to Apply Wellness Patches?
Choosing the right location is fundamental to patch performance. Different areas offer unique advantages, and what works best may vary slightly from person to person. It is always recommended to place patches on a clean, dry, and hairless area of the body.
| Application Site |
Why It’s a Good Choice |
Application Tips |
| Upper Arm / Shoulder |
Easily accessible, relatively low in hair, and doesn’t move excessively. A very common and reliable spot. |
Apply to the outer part of the upper arm or the top of the shoulder blade to minimize friction from clothing. |
| Upper Chest |
A large, flat area that is easy to reach and monitor. Offers good absorption. |
Avoid placing it too close to the collarbone where it may be rubbed by shirt collars or necklaces. |
| Abdomen |
Offers a large surface area, making rotation easy. Consistent skin temperature can aid absorption. |
Place the patch away from the waistband of your pants to prevent it from rubbing or peeling off. Avoid the navel area. |
| Back |
The upper back or lower back are excellent, out-of-the-way locations. Minimal movement and skin oils. |
You may need assistance applying it to the middle of your back. Choose a spot between the shoulder blades or on the lower back above the hip. |
| Hip / Upper Buttocks |
These areas are discreet, have a good layer of tissue, and are protected by clothing. |
Ensure the patch is placed where it won’t be irritated by tight-fitting underwear or belts. |
What Happens If You Don’t Rotate Application Sites?
Neglecting to rotate patch locations can lead to a cascade of undesirable effects that undermine your wellness goals. Initially, you might not notice any issues. Over time, however, the cumulative stress on a single patch of skin becomes apparent. The first sign is often mild itching or redness after removing the patch.
If this warning sign is ignored, the skin can become chronically irritated, dry, and flaky. In more sensitive individuals, this can escalate to more severe contact dermatitis. Furthermore, the skin’s barrier function becomes compromised, making it less effective at absorbing the patch’s ingredients. You might find that your patches don’t seem to work as well as they used to. This isn’t because the patch has changed; it’s because the application site is no longer capable of facilitating optimal absorption. This cycle of irritation and reduced efficacy is entirely avoidable with a simple rotation strategy.
How Do You Manage Adhesive Residue and Skin Care?
Even with high-quality patches, a small amount of adhesive residue can sometimes be left behind upon removal. It’s important to remove this gently to prepare the skin for its recovery period and avoid clogging pores.
To remove any sticky remnants, you can use a cotton ball soaked in a skin-safe oil, such as baby oil or coconut oil. Apply the oil to the residue and let it sit for a minute to break down the adhesive, then gently wipe it away. Afterwards, wash the area with soap and water to remove any remaining oil. This ensures the spot is clean and ready for a future patch application after it has had several days to rest. Avoid harsh scrubbing or using alcohol, which can dry out and irritate the skin further.
Elevate Your Wellness with Teseu
Understanding how to properly use your wellness patches is key to unlocking their full potential. By incorporating a simple site rotation into your daily routine, you safeguard your skin’s health and ensure you receive the maximum benefit from every patch. This small step makes a significant difference in your wellness journey.
At Teseu, we are dedicated to pioneering your path to well-being with our advanced Bio-Frequency Technology. Our range of wellness patches, from Sleep and Pain Relief to Energy and Focus, is designed for seamless integration into your life. By combining our cutting-edge technology with smart application practices like site rotation, you can experience a more consistent and powerful impact on your daily health. Discover a better way to feel your best and embrace the future of wellness with us.