Achieving clear, healthy nails at home is possible with the right technique. The most effective way to apply antifungal nail drops is to first meticulously prepare the nail by trimming it short and filing down its surface to enhance absorption. Next, apply the drops directly to the entire nail, ensuring it penetrates the nail bed and surrounding skin. For best results, this should be done consistently, typically twice daily, while maintaining dry, clean feet and allowing the solution to dry completely before putting on socks or shoes. Consistency is paramount for successfully eliminating nail fungus.
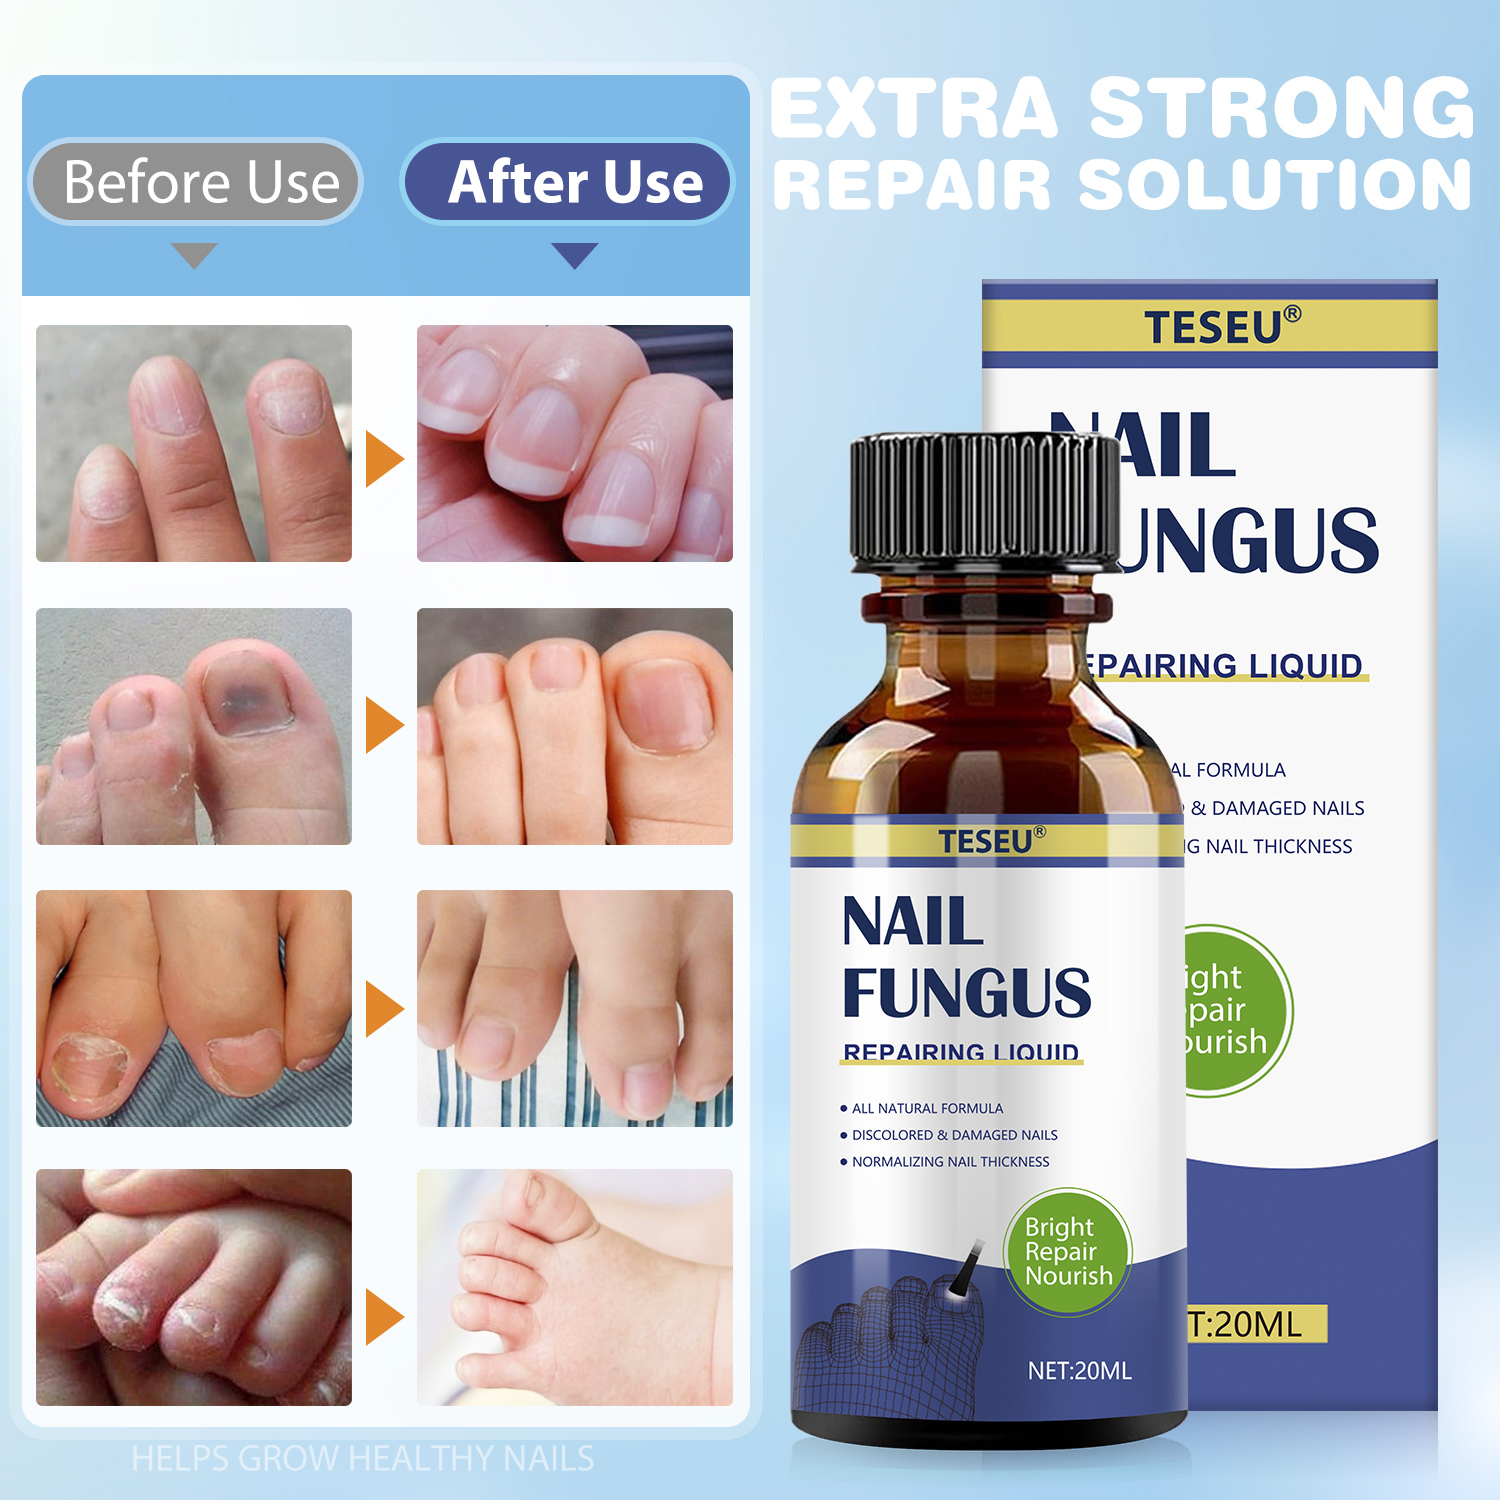
Table of Contents
- Why is Proper Nail Preparation Essential Before Application?
- The Importance of Trimming Your Nails Short
- How to Safely File and Thin the Nail Plate
- What is the Step-by-Step Process for Applying Nail Drops?
- Washing and Thoroughly Drying the Affected Area
- Applying the Drops to the Nail and Cuticle Area
- Allowing for Adequate Drying Time
- How Often Should You Apply Antifungal Drops for Best Results?
- Establishing a Consistent Daily Routine
- What Practices Can Enhance the Treatment’s Efficacy?
- Maintaining Impeccable Foot Hygiene
- Common Mistakes to Avoid During Home Treatment
- When Should You Expect to See Improvement and Consult a Doctor?
Why is Proper Nail Preparation Essential Before Application?
Before you even open the bottle of antifungal nail drops, understanding that preparation is half the battle is crucial. A fungal infection, or onychomycosis, thrives deep within the keratin layers of the nail, making it a fortress that is difficult for topical treatments to penetrate. Simply dabbing drops onto a thick, untreated nail is often ineffective because the medication cannot reach the active infection. Proper preparation thins the nail’s defenses, creating a direct pathway for the antifungal agents to do their work effectively, accelerating the healing process and improving your chances of success.
The Importance of Trimming Your Nails Short
Keeping the affected nail trimmed as short as possible is a fundamental first step. Long nails provide more surface area and space underneath for the fungus to colonize and spread. A shorter nail reduces the fungal load and minimizes the area that the treatment needs to cover. Use a clean, dedicated nail clipper to cut the nail straight across. Be careful not to cut too close to the skin to avoid injury, which could introduce new bacteria and complicate the infection. Regularly trimming away the newly grown nail part helps remove the infected portions as they grow out, complementing the action of the antifungal drops.
How to Safely File and Thin the Nail Plate
Fungal infections often cause the nail to become thick, brittle, and discolored. This thickened barrier is the primary obstacle for any topical solution. To overcome this, you must gently file down the nail’s surface. Use a disposable emery board or a sterilized metal file. With gentle but firm pressure, file the top surface of the nail, focusing on any thickened or particularly discolored areas. The goal is to reduce the nail’s thickness, making it more porous. This process, known as debridement, might create a fine dust; it is a sign that you are successfully removing the non-viable nail tissue. This action allows the antifungal nail drops to soak deeper into the nail bed where the fungus resides.
What is the Step-by-Step Process for Applying Nail Drops?
With a properly prepared nail, the application process itself is straightforward but requires precision and care. The objective is to ensure the potent antifungal solution makes complete contact with the entire infected zone—the nail plate, the nail bed underneath, and the surrounding skin, including the cuticle. Following a meticulous, repeatable process every single time is what separates a successful treatment from a frustrating, prolonged effort.
Washing and Thoroughly Drying the Affected Area
Before each application, you must begin with a clean canvas. Wash your hands and the affected foot or hand with soap and warm water. This removes surface-level dirt, oils, and bacteria that could interfere with the treatment or cause secondary infections. The most critical part of this step is drying. Fungus flourishes in moist environments, so use a clean, dedicated towel to pat the area completely dry. Pay special attention to the spaces between toes and around the nail itself. For an extra measure of dryness, you can use a hairdryer on a cool setting for about a minute. An impeccably dry surface ensures the antifungal drops are not diluted and can be fully absorbed.
Applying the Drops to the Nail and Cuticle Area
Using the dropper provided, apply the recommended number of drops directly onto the surface of the affected nail. Do not let the dropper touch the nail to avoid contaminating the solution in the bottle. Ensure you dispense enough liquid to cover the entire nail plate from the cuticle to the tip. It is vital to also target the surrounding areas. Gently tilt your foot or hand to allow the solution to seep into the free edge at the front of the nail and into the folds of skin on the sides (the lateral nail folds). This ensures the treatment reaches the nail bed and hyponychium, common reservoirs for the fungus.
Allowing for Adequate Drying Time
Patience after application is a virtue. Once the drops are on, resist the immediate urge to put on socks, shoes, or gloves. The solution needs time to be fully absorbed into the nail and surrounding tissue. Allow the treated area to air-dry completely. This can take anywhere from 10 to 15 minutes, depending on the product’s formulation. Walking around barefoot on a clean surface during this time is ideal. This drying period is not passive; it is an active phase where the antifungal ingredients penetrate the keratin to begin their work. Rushing this step will significantly reduce the treatment’s effectiveness as the medication can be wiped away by fabric.
How Often Should You Apply Antifungal Drops for Best Results?
Eradicating nail fungus is a marathon, not a sprint. The fungus lives deep within the nail, and as the nail grows slowly, the treatment must be persistent to address new growth and prevent reinfection. Sporadic application will not work. The fungus will simply regrow in the gaps between treatments, undoing any progress you have made and leading to a cycle of frustration. A disciplined and unwavering routine is the cornerstone of a successful outcome.
Establishing a Consistent Daily Routine
For most over-the-counter and professionally recommended antifungal drops, a twice-daily application is the standard. The most effective strategy is to incorporate the application into your morning and evening routines. For example, apply the drops after your morning shower (once your feet are completely dry) and again before you go to bed. This creates a sustained antifungal environment, continuously weakening the fungus. Use a calendar or a reminder on your phone to track your applications. Do not skip days, even if the nail starts to look better. You must continue the treatment until a completely new, healthy nail has grown out, which can take several months.
What Practices Can Enhance the Treatment’s Efficacy?
While the correct application of antifungal drops is the core of the treatment, your daily habits and environment play a significant role in either supporting or sabotaging your efforts. Creating an environment that is hostile to fungus is essential for preventing reinfection and speeding up the healing process. This involves a holistic approach to foot care and being mindful of common pitfalls that can undermine your treatment.
Maintaining Impeccable Foot Hygiene
Excellent hygiene is non-negotiable. It is vital to support your antifungal treatment by creating conditions where fungus cannot survive. This includes several key actions:
- Wear Breathable Footwear: Opt for shoes made from natural materials like leather or canvas that allow air to circulate. Avoid tight-fitting shoes made of synthetic materials that trap moisture.
- Choose Moisture-Wicking Socks: Socks made from wool, bamboo, or specific synthetic blends designed for athletes can pull sweat away from the skin, keeping your feet drier.
- Change Socks Daily: Never wear the same pair of socks twice in a row. If your feet get particularly sweaty during the day, change your socks midday.
- Disinfect Your Tools: Always sanitize your clippers and files before and after each use with rubbing alcohol to prevent spreading the fungus to other nails or re-infecting yourself.
- Protect Feet in Public Areas: Wear shower shoes or flip-flops in communal wet areas like gym locker rooms, swimming pools, and public showers, which are breeding grounds for fungi.
At Teseu, we believe that effective solutions are born from science and dedication. Our products are formulated to support your health journey, and we understand that pairing a quality product with the right technique is the key to seeing real results. Just as our scientifically-backed formulas work diligently, your consistent and hygienic routine is an equally powerful part of the solution.
Common Mistakes to Avoid During Home Treatment
Many people inadvertently sabotage their treatment by making simple mistakes. Being aware of these common errors can dramatically improve your chances of success.
| Mistake |
Why It’s a Problem |
Correct Action |
| Applying to a Wet Nail |
The drops get diluted and cannot absorb properly into the nail plate. |
Ensure the nail and surrounding skin are completely dry before every application. |
| Stopping Treatment Too Soon |
The nail may look better, but the fungus is still present in the nail bed. It will regrow. |
Continue treatment until a completely clear, new nail has grown out fully. |
| Sharing Nail Care Tools |
Easily spreads the fungal infection to other family members or your own healthy nails. |
Use a dedicated set of tools for the infected nail and disinfect them after each use. |
| Wearing Damp Socks/Shoes |
Creates a warm, moist environment where fungus thrives, counteracting the treatment. |
Always wear dry socks and allow shoes to air out for at least 24 hours between uses. |
When Should You Expect to See Improvement and Consult a Doctor?
Patience is essential when treating nail fungus due to the slow growth rate of nails. You will not see an overnight change. The first signs of improvement are often visible at the base of the nail, near the cuticle, where new, healthy nail begins to grow in. This can take 2-3 months to become noticeable. The discolored, thickened part of the nail will not change; it must grow out and be trimmed away over time. For a toenail, this full replacement process can take from 12 to 18 months. For a fingernail, it may take 6 to 9 months.
While home treatments with high-quality antifungal nail drops are effective for many mild to moderate cases, it is important to know when to seek professional medical advice. You should consult a doctor or a podiatrist if:
- You see no signs of new, healthy nail growth after 3-4 months of consistent treatment.
- The infection seems to be spreading to other nails or worsening.
- The surrounding skin becomes red, painful, or swollen.
- You have diabetes, poor circulation, or a weakened immune system, as nail infections can lead to more serious complications in these cases.
A doctor can confirm the diagnosis, rule out other conditions, and may prescribe more potent oral medications or other advanced treatments if necessary.