Before using a new antifungal cream, performing a patch test is a critical safety measure. To do this, apply a small dab of the cream to a clean, discrete area of skin, like your inner elbow. Cover it with a bandage and leave it undisturbed for at least 24 to 48 hours, ensuring the area stays dry. After the waiting period, remove the bandage and carefully inspect the skin for any signs of a negative reaction, such as redness, swelling, itching, or blisters. If your skin appears normal, you can proceed with using the product as directed on the affected area.

Table of Contents
- What is a Patch Test and Why is it Crucial for Antifungal Treatments?
- Who Should Always Perform a Skin Sensitivity Test?
- A Simple Step-by-Step Method for Patch Testing Your Antifungal Cream
- Where is the Best Place on Your Body to Conduct a Patch Test?
- How Long Should You Wait for a Potential Reaction?
- What Do Adverse Skin Reactions Look Like?
- What Should You Do If You Experience a Negative Reaction?
- What are the Next Steps if the Patch Test is Clear?
- Is There a Difference Between Patch Testing Medicated vs. Cosmetic Creams?
- Choosing a Quality Antifungal Cream: A Note on Safety and Efficacy
What is a Patch Test and Why is it Crucial for Antifungal Treatments?
A patch test, also known as a skin sensitivity or spot test, is a simple method to determine if your skin will have an adverse reaction to a new product before you apply it widely. It involves applying a small amount of the product to a concealed area of your skin and monitoring it for a set period. This process is especially important when using a medicated product like an antifungal cream. These treatments contain potent active ingredients designed to eliminate fungal cells, but these same components can sometimes trigger irritation or an allergic reaction in certain individuals.
The primary purpose of a patch test is to prevent a widespread, uncomfortable, and potentially severe skin reaction. By testing a small area first, you can safely identify any sensitivity. A reaction on a one-inch square of your arm is far more manageable than a reaction across a larger, already-compromised area of skin. It’s a fundamental step in practicing safe, responsible self-care at home and ensures that the treatment you use will help, not harm, your skin.
Who Should Always Perform a Skin Sensitivity Test?
While everyone can benefit from the safety-first approach of patch testing, it is absolutely essential for certain individuals. If you fall into any of the following categories, you should never skip this step before starting a new topical treatment. People with a known history of sensitive skin are prime candidates, as their skin barrier may be more susceptible to irritation from new ingredients. Your skin’s tolerance can change over time, so even if you haven’t had issues in the past, testing is still a wise precaution.
Additionally, individuals with pre-existing skin conditions such as eczema (atopic dermatitis), rosacea, or psoriasis should be extra diligent. These conditions compromise the skin’s natural protective barrier, making it more prone to flare-ups when exposed to new substances. Likewise, if you have a history of allergies, whether to foods, pollen, or specific ingredients like fragrances or preservatives, your immune system may be more likely to react to a component in the antifungal cream. Taking the time to test ensures you avoid triggering an uncomfortable and counterproductive skin response.
A Simple Step-by-Step Method for Patch Testing Your Antifungal Cream
Performing a patch test at home is straightforward. Following these steps carefully will give you the most accurate results and ensure your safety as you begin treatment.
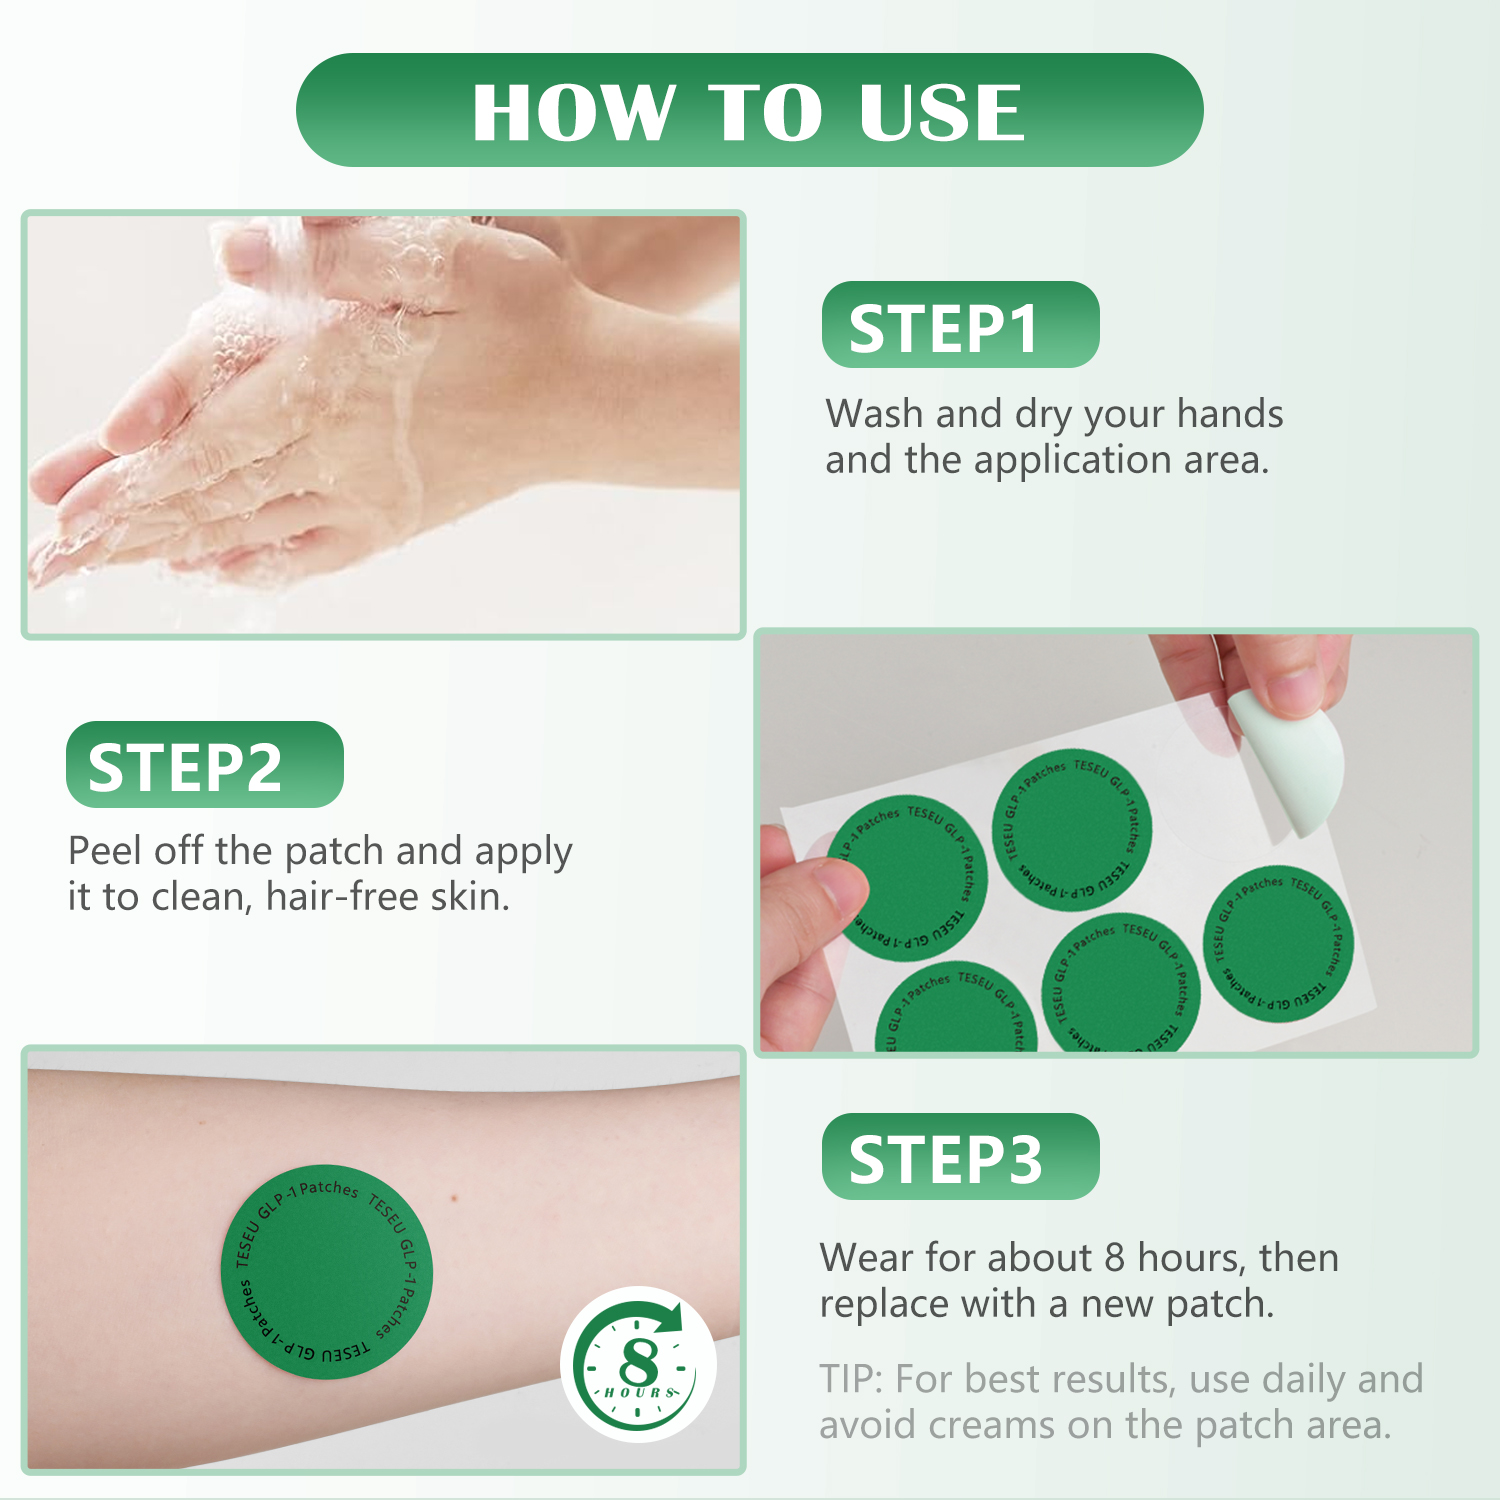
Step 1: Choose the Right Test Spot
Select a discreet and accessible patch of skin. The area should be somewhere you can leave undisturbed for one to two days. Ideal locations are the inner forearm, the crook of the elbow, or behind the ear. These spots are suitable because the skin is relatively thin and sensitive, similar to other areas of the body, but they are not typically visible.
Step 2: Prepare the Skin Area
Before applying the cream, gently wash the chosen one-inch-square area with a mild, fragrance-free soap and water. Pat the skin completely dry with a clean towel. Do not scrub the area, as this can cause irritation that might be mistaken for a product reaction. The skin must be clean and dry to ensure the test is accurate.
Step 3: Apply a Small Amount of the Cream
Squeeze a small, pea-sized amount of the antifungal cream onto the prepared patch of skin. Gently rub it in, just as you would if applying it to the affected area. Don’t use too much product; a thin layer is sufficient to test for a reaction.
Step 4: Cover and Wait (The Observation Period)
Cover the area with a small adhesive bandage. This prevents the cream from rubbing off onto your clothes or other parts of your body. The goal is to keep the product in contact with that specific spot for the entire observation period. Try to keep the bandage and the skin underneath it dry—avoid getting it wet when washing your hands or showering.
Where is the Best Place on Your Body to Conduct a Patch Test?
The location you choose for a patch test can influence its effectiveness. The ideal spot is one that is both sensitive enough to show a potential reaction and hidden from view. The inner forearm is one of the most commonly recommended areas. The skin here is delicate and less exposed to the sun and environmental elements, making it a reliable canvas for a sensitivity test.
Another excellent choice is the bend of your elbow. Similar to the inner forearm, the skin here is thin and protected. For products intended for the face or neck, testing on the area just behind your ear is often suggested. This spot is inconspicuous and closely mimics the sensitivity of facial skin. Avoid testing on your hands or feet, as the skin is much thicker and may not show a reaction that could occur on more delicate parts of your body. Also, never perform a patch test on broken, irritated, or already-infected skin, as this will not provide a clear result.
How Long Should You Wait for a Potential Reaction?
Patience is key to an accurate patch test. While some reactions can appear within minutes or hours, others, particularly true allergic reactions, can be delayed. The standard recommendation is to leave the patch in place for a minimum of 24 to 48 hours. During this time, you should resist the urge to peek, as disturbing the area can invalidate the test.
After the initial 24 or 48 hours, remove the bandage and examine the skin. However, the observation doesn’t stop there. Some allergic responses, known as delayed hypersensitivity reactions, can take up to 72 or even 96 hours to fully develop. For the most thorough assessment, continue to monitor the patch-test area for another two to three days after removing the bandage. If the skin remains clear, calm, and shows no signs of change throughout this entire period, the product is likely safe for you to use.
What Do Adverse Skin Reactions Look Like?
Knowing what to look for is just as important as the test itself. Reactions can range from mild irritation to a more severe allergic response. It is vital to distinguish between the two, as they indicate different levels of sensitivity. Irritation is a direct reaction to an ingredient, while an allergy involves an immune system response.
Mild Irritation Signs
Irritant contact dermatitis is typically less severe and confined to the exact area where the cream was applied. Signs include slight redness, a mild itching or stinging sensation, and small, dry bumps. This type of reaction often appears relatively quickly and may resolve on its own once the product is removed.
Allergic Reaction Warning Signs
Allergic contact dermatitis is a more serious immune response and a clear sign that you should not use the product. The warning signs are often more intense and can sometimes spread beyond the initial patch test area. Look for intense itching, significant redness and swelling, blisters or weeping sores, and a rash that is bumpy or hive-like. These symptoms may take longer to appear, which is why the 48-72 hour observation window is so important.
| Reaction Type |
Common Symptoms |
Onset |
Severity |
| Irritation |
Mild redness, slight itchiness or stinging, dryness. |
Can be immediate or within a few hours. |
Usually mild and localized. |
| Allergy |
Severe itching, swelling, blisters, hives, spreading rash. |
Often delayed; may appear 24-72 hours later. |
Can be moderate to severe and may spread. |
What Should You Do If You Experience a Negative Reaction?
If you notice any signs of irritation or an allergic reaction during the patch test, you must take immediate action. First and foremost, remove the bandage and gently wash the area with cool water and a mild, fragrance-free soap to remove any remaining product from your skin. Pat the area dry with a soft, clean towel—do not rub it.
To soothe the discomfort, you can apply a cold compress to the area for 10-15 minutes. Avoid scratching the skin, as this can worsen the reaction and potentially lead to an infection. Do not, under any circumstances, use the antifungal cream. A positive reaction on a small patch means a much larger and more severe reaction is likely if applied to a wider area. If the reaction is severe—characterized by intense swelling, blistering, or spreading rapidly—or if it doesn’t improve after washing, it is crucial to contact your doctor or a pharmacist for advice.
What are the Next Steps if the Patch Test is Clear?
If the 48-72 hour observation period has passed and the test spot shows no signs of redness, itching, swelling, or any other abnormality, you can feel confident moving forward. A clear patch test indicates that your skin is not sensitive or allergic to the ingredients in the antifungal cream. You can now begin applying the treatment to the actual affected fungal area as instructed by the product’s directions or your healthcare provider.
Even with a successful patch test, it is still wise to be mindful when you begin treatment. Start by applying a thin layer to the affected area. Pay attention to how your skin feels over the first few days of use. While a patch test is a highly reliable indicator, it’s always best to introduce any new powerful treatment to your body with care and attention.
Is There a Difference Between Patch Testing Medicated vs. Cosmetic Creams?
Yes, there is a significant difference, and it underscores why patch testing an antifungal product is so important. Cosmetic creams, such as moisturizers or serums, are primarily designed to hydrate, nourish, or improve the skin’s appearance. While they can cause reactions, especially those with fragrances or certain preservatives, their ingredients are generally less potent than those in medicated products.
Medicated creams, including antifungal treatments, contain active pharmaceutical ingredients (APIs). These are powerful compounds specifically formulated to have a biological effect—in this case, to kill fungus. Ingredients like clotrimazole, miconazole, or tolnaftate are highly effective but also carry a higher potential for causing skin irritation or allergic contact dermatitis. Because their primary function is therapeutic rather than cosmetic, the importance of confirming your skin’s tolerance via a patch test cannot be overstated.
Choosing a Quality Antifungal Cream: A Note on Safety and Efficacy
When dealing with a fungal infection, selecting a high-quality treatment is your first line of defense. At Teseu, we are committed to creating effective, science-backed health solutions that you can trust. Our products, such as the FUNGACURE Intensive Antifungal Treatment, are formulated with powerful ingredients chosen for their proven efficacy in resolving fungal issues. We prioritize both performance and quality in our formulations to deliver reliable results.
However, we also champion the principle of “safety first.” Because every individual’s skin chemistry is unique, we strongly advocate for performing a patch test before beginning any new treatment—even with a premium product. This simple step is the most responsible way to care for your skin and ensures your journey to health is safe and free from adverse reactions. By combining a superior-quality product with smart safety practices like patch testing, you create the best possible conditions for fast and effective healing.