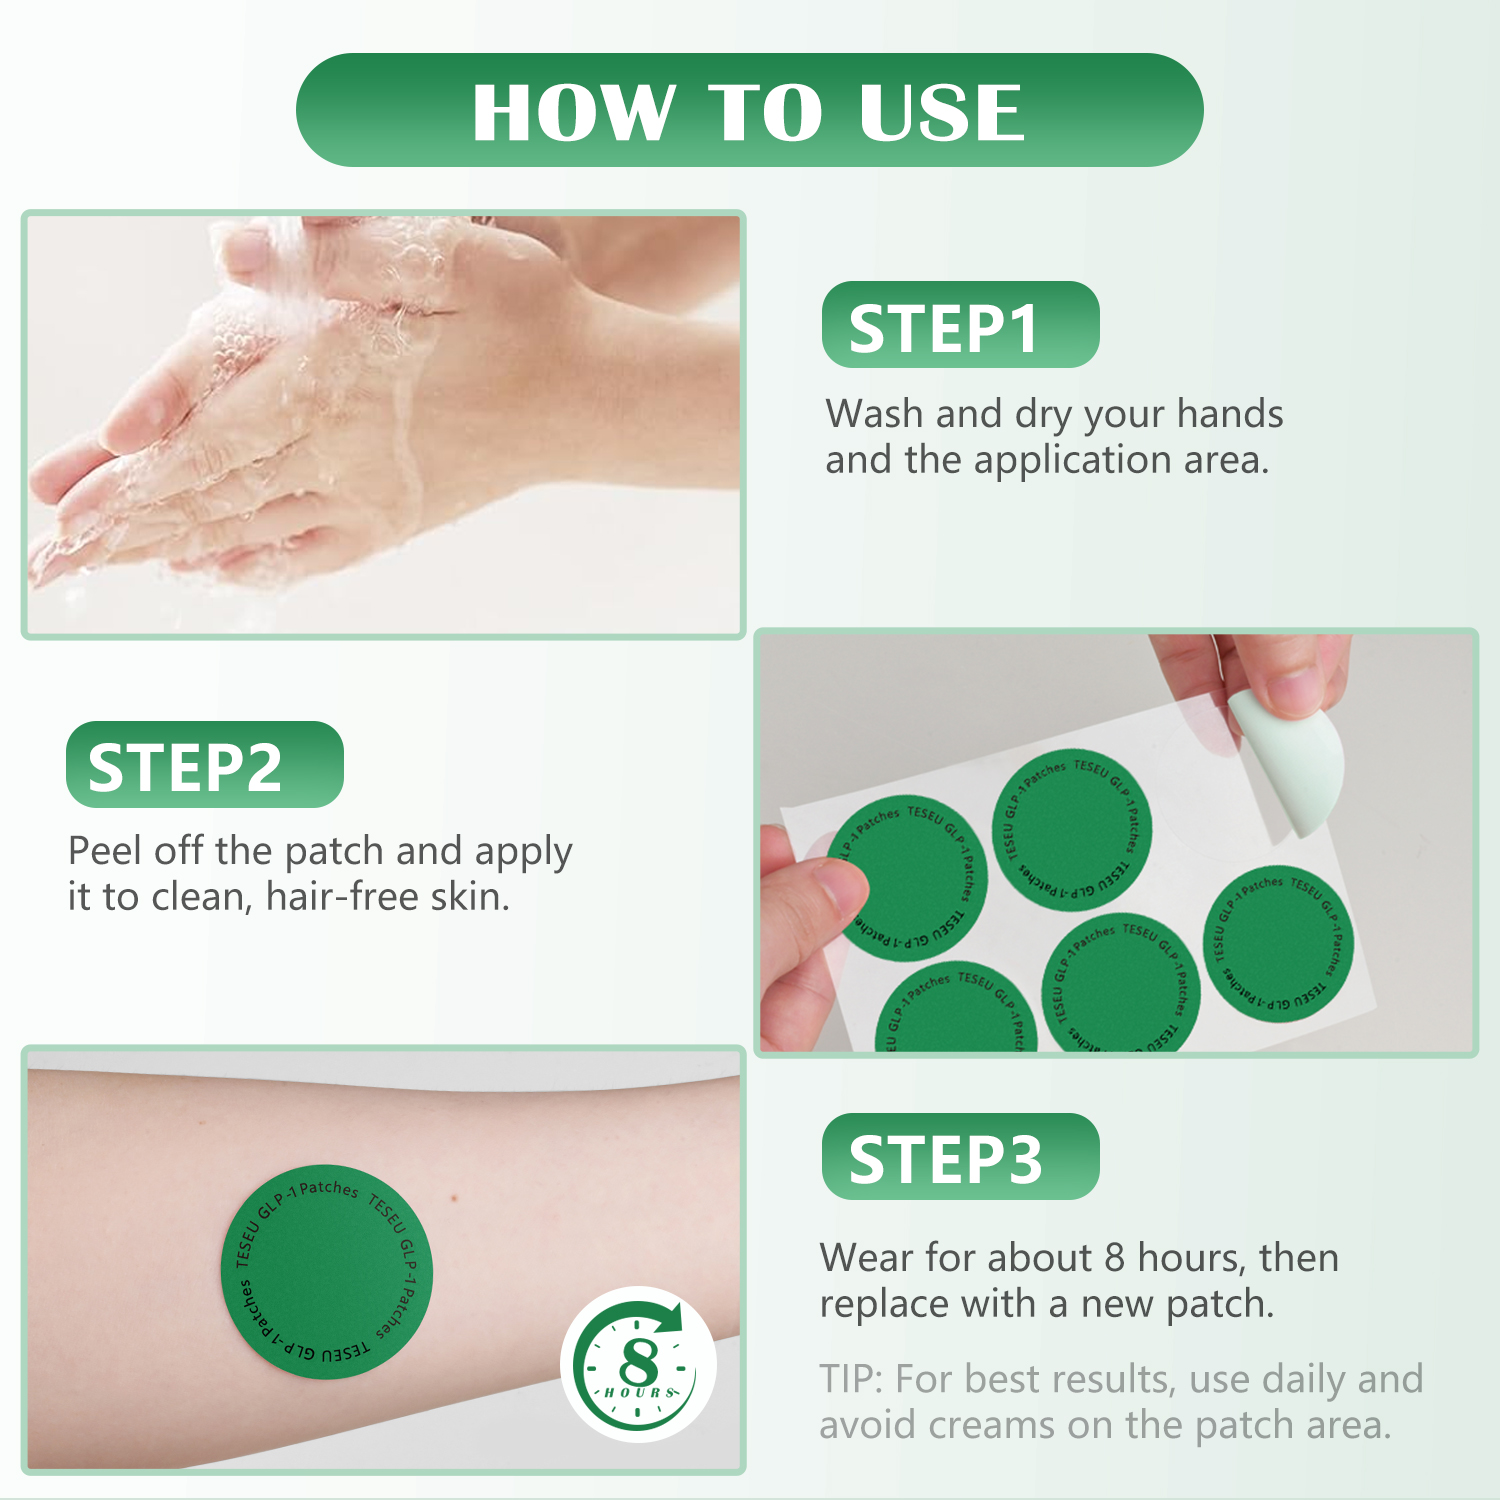
To properly clean the area before applying a wart removal pen, first, wash the wart and surrounding skin with mild soap and warm water for several minutes. Next, consider soaking the affected area in warm water for 5 to 10 minutes to soften the wart’s tough surface. Finally, pat the area completely dry with a clean towel, as a dry surface is essential for the treatment to work effectively.
Table of Contents
Why is Pre-Application Cleaning So Important?
Properly preparing your skin before applying a wart treatment is a fundamental step that directly influences the outcome. It’s not just about hygiene; it’s about creating the optimal environment for the treatment to succeed. When you take the time to clean the area correctly, you achieve three critical objectives. First, you enhance the effectiveness of the treatment. Surface oils, dirt, and dead skin cells can form a barrier, preventing the active ingredients from penetrating the tough, callused layers of the wart. A clean surface ensures direct contact and deeper absorption.
Second, this preparation step significantly boosts safety. Warts are caused by the human papillomavirus (HPV), and creating any breaks in the skin can lead to infection or spreading the virus to other parts of your body. Washing removes surface bacteria that could cause a secondary infection. Finally, proper preparation helps prevent the spread of the virus. By washing your hands and the affected area both before and after treatment, you minimize the risk of autoinoculation, where you unknowingly transfer the virus to new locations on your skin.
Your Essential Pre-Treatment Checklist: What You’ll Need
Before you begin, gathering a few simple items will make the process smooth and effective. You don’t need a complex medical kit; basic household supplies are typically sufficient. Having everything ready ensures you can follow each step without interruption, maintaining a clean and controlled environment for the treatment.
- Mild, non-medicated soap: Choose a gentle soap without harsh perfumes or chemicals that could irritate the skin.
- Warm water: Used for both washing and soaking.
- A clean, soft towel or paper towels: To ensure the area is dried hygienically and thoroughly.
- A basin or bowl (optional): Useful for soaking warts on hands or feet.
- Petroleum jelly (optional): For protecting the healthy skin surrounding the wart.
A Step-by-Step Process for Preparing Your Skin
Following a structured, multi-step process for skin preparation ensures that you create the ideal canvas for your wart removal treatment. Each phase plays a distinct role, from initial cleansing to softening the tissue, all designed to maximize the efficacy of the application.
Step 1: Wash the Affected Area
The first and most crucial step is to thoroughly wash the wart and the immediate surrounding skin. Use warm water and a mild soap to create a lather. Gently rub the area for at least 20-30 seconds. This action helps to lift away any surface debris, oils, sweat, and lotion residue. The goal is not to scrub the wart aggressively, which could cause irritation or bleeding, but to ensure the skin is completely clean. Rinse the area with clean, warm water until all soap residue is gone.
Step 2: Soak the Wart to Soften It
Warts are composed of hard, dense layers of skin packed with keratin. Soaking the wart in warm water for 5 to 10 minutes is a highly recommended step to soften this tough tissue. This process, known as maceration, makes the wart more permeable. A softened wart allows the active ingredients in your Teseu Wart Removal Pen to penetrate more deeply and work more effectively on the viral cells. For warts on hands or feet, you can submerge them in a basin of water. For other areas, a warm, wet compress held against the wart will achieve the same result.
Step 3: Dry the Skin Thoroughly
After washing and soaking, drying the area is just as important. Most wart removal formulations, especially liquid ones, are designed to be applied to a completely dry surface. Any remaining moisture can dilute the product, weakening its potency and hindering its ability to form a concentrated layer over the wart. Use a clean, soft towel and gently pat the skin dry. Avoid vigorous rubbing. Allow the area to air-dry for an additional minute to ensure no trace of dampness remains before you proceed with the application.
Should You File the Wart Before Treatment?
You may find advice suggesting you file the surface of the wart with a pumice stone or emery board before treatment. The theory is that this removes the top layer of dead skin, allowing for better product penetration. While this can be effective, it comes with significant risks. Filing too aggressively can cause microscopic tears or bleeding, which opens a direct pathway for the HPV virus to spread to surrounding skin or to other people via shared surfaces. It can also introduce bacteria, leading to infection.
For a gentle and safe at-home treatment, especially when using a product designed for painless and scarless removal, it is often best to skip the filing step. The combination of washing and soaking is typically sufficient to soften the skin for effective treatment. If you do choose to file, use a dedicated tool that is never shared, do it very gently to avoid breaking the skin, and disinfect or dispose of the tool immediately after use.
How to Protect the Healthy Skin Around the Wart
Wart removal treatments are formulated to target the abnormal skin growth of the wart. Applying them to the delicate, healthy skin nearby can cause unnecessary irritation, redness, or peeling. Taking a moment to protect this surrounding skin is a smart preventative measure. An easy and effective method is to apply a thin ring of petroleum jelly around the base of the wart, creating a protective barrier.
This is where the design of your applicator matters. The Teseu Wart Removal Pen is engineered with a precision tip that allows you to apply the natural, plant-based formula directly onto the wart with pinpoint accuracy. This design inherently minimizes contact with healthy skin, making the treatment process safer and more targeted, and often reducing the need for protective barriers.
Common Mistakes to Avoid During Skin Preparation
Knowing what not to do is just as important as knowing the correct steps. Avoiding common pitfalls will protect your skin and ensure you get the best possible results from your treatment. Pay close attention to these points to ensure a safe and effective application every time.
| What to Do |
What to Avoid |
| Wash with mild soap and warm water. |
Avoid using harsh chemicals, alcohol, or medicated scrubs, which can cause irritation. |
| Pat the skin dry gently with a clean towel. |
Avoid rubbing the area vigorously, which can aggravate the skin. |
| Ensure the wart is completely dry before application. |
Avoid applying the product to damp or wet skin, as it will be less effective. |
| Wash hands before and after the process. |
Avoid touching other areas of your body after handling the wart to prevent spreading the virus. |
Adjusting Your Prep for Different Types of Warts
While the core principles of cleaning, soaking, and drying apply universally, minor adjustments may be beneficial depending on the wart’s type and location. Different warts present unique challenges due to their structure and the skin they grow on.
For example, plantar warts, found on the soles of the feet, are often covered by a thick layer of callus due to the pressure of walking. For these, a slightly longer soak (10-15 minutes) can be particularly helpful in softening the tough outer layer. In contrast, common warts on the hands or fingers may be more raised and have a rough, “cauliflower-like” texture. A standard 5-minute soak is usually sufficient for these. For smaller, flatter warts, the primary focus should be on thorough cleaning and ensuring the surface is completely dry for direct product contact.
What’s the Final Step Right Before Application?
You have washed, soaked, and dried the area. Your hands are clean. This is the final moment before you apply the treatment. Take one last look at the wart and the surrounding skin. Is the area completely dry? Is there any sign of irritation, cuts, or bleeding from the cleaning process? If the skin is broken or inflamed, it is best to wait until it has healed before applying any treatment. If everything looks good, you are ready to proceed with the application, confident that you have prepared the area for the best possible outcome.
The Teseu Advantage: A Gentle and Precise Approach
A diligent preparation routine pairs perfectly with a thoughtfully designed treatment. The Teseu Wart Removal Pen was created with safety, gentleness, and effectiveness in mind. Its formula, derived from natural plant extracts, is designed to be potent against the wart yet kind to your skin, aligning with the goal of a painless and scarless experience. Following the proper cleaning steps ensures that this natural formula can work at its full potential.
Furthermore, the pen’s precision applicator is a key feature that complements a careful prep routine. After you’ve taken the time to clean and dry the area, the Teseu pen allows you to deliver the treatment exactly where it’s needed, without mess or overflow onto the healthy skin you’ve worked to protect. This combination of proper skin preparation and a precisely targeted, gentle formula represents a modern, intelligent approach to at-home wart removal.
Frequently Asked Questions About Wart Treatment Prep
Navigating at-home wart treatment can bring up a few questions. Here are clear answers to some common queries regarding the preparation phase.
How long should I soak the wart?
A good rule of thumb is to soak the wart in warm water for 5 to 10 minutes. For especially thick or stubborn warts, such as plantar warts on the feet, extending the soak to 15 minutes can be beneficial. The goal is to soften the keratin layers without making the skin waterlogged.
Can I use alcohol to clean the wart?
It is generally not recommended to use rubbing alcohol to clean the wart before treatment. While alcohol is a disinfectant, it is also extremely drying and can cause significant irritation to both the wart and the surrounding healthy skin. This irritation can make the area more sensitive and may interfere with the treatment. Sticking with mild soap and water is the safest and most effective method.
What if the skin gets irritated during cleaning?
If you notice any redness, pain, or breaks in the skin after washing or drying, you should postpone the treatment. Applying a wart removal product to broken or irritated skin can be painful and may increase the risk of infection. Allow the skin to calm down and fully heal—which may take a day or two—before attempting the preparation and application process again.