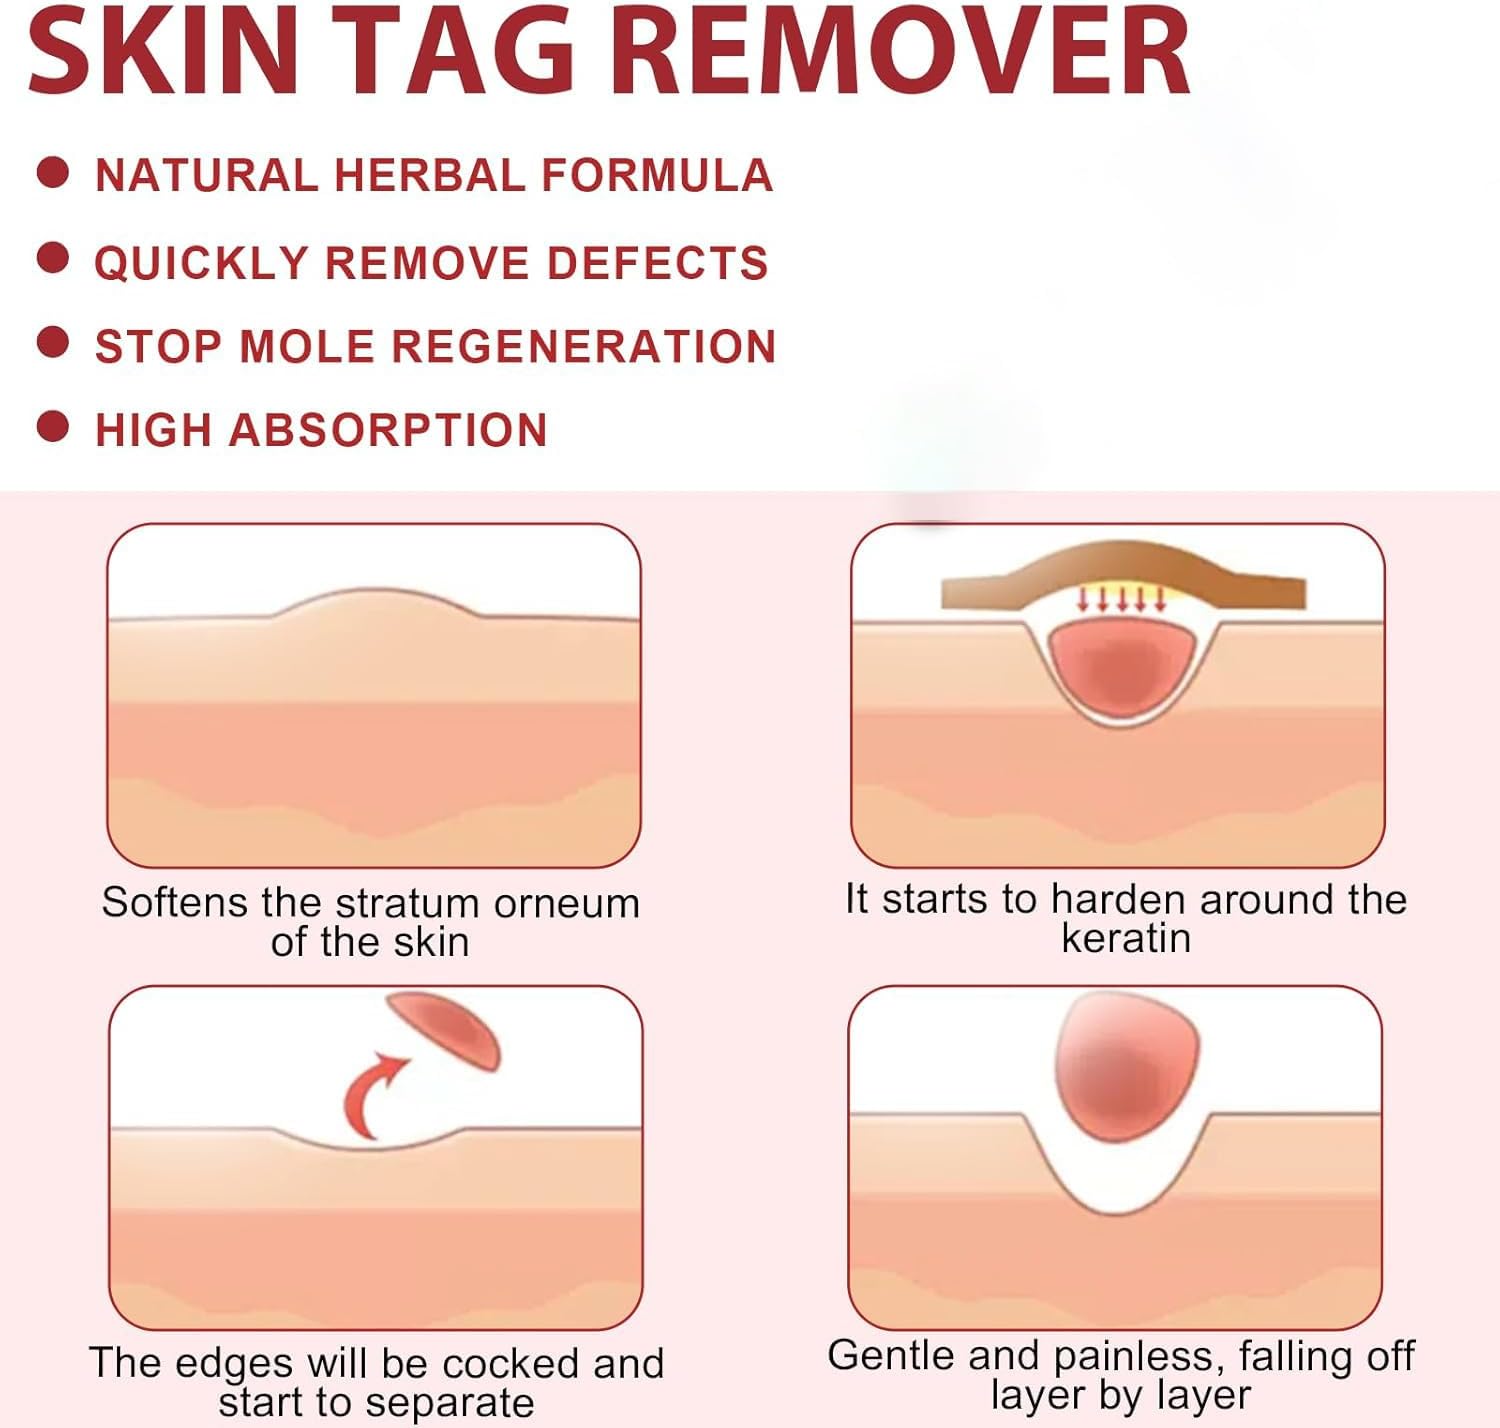
To safely protect the healthy skin around your treated wart, apply a barrier like petroleum jelly or a liquid bandage to the surrounding area before applying any treatment. This creates a waterproof seal that prevents caustic solutions, such as salicylic acid, from spreading and damaging the surrounding healthy tissue. For treatments like cryotherapy or laser therapy, ensuring precise application by a professional is key. After any treatment, keeping the area clean, dry, and covered with a sterile bandage helps prevent infection and promotes healing, further safeguarding the healthy skin.
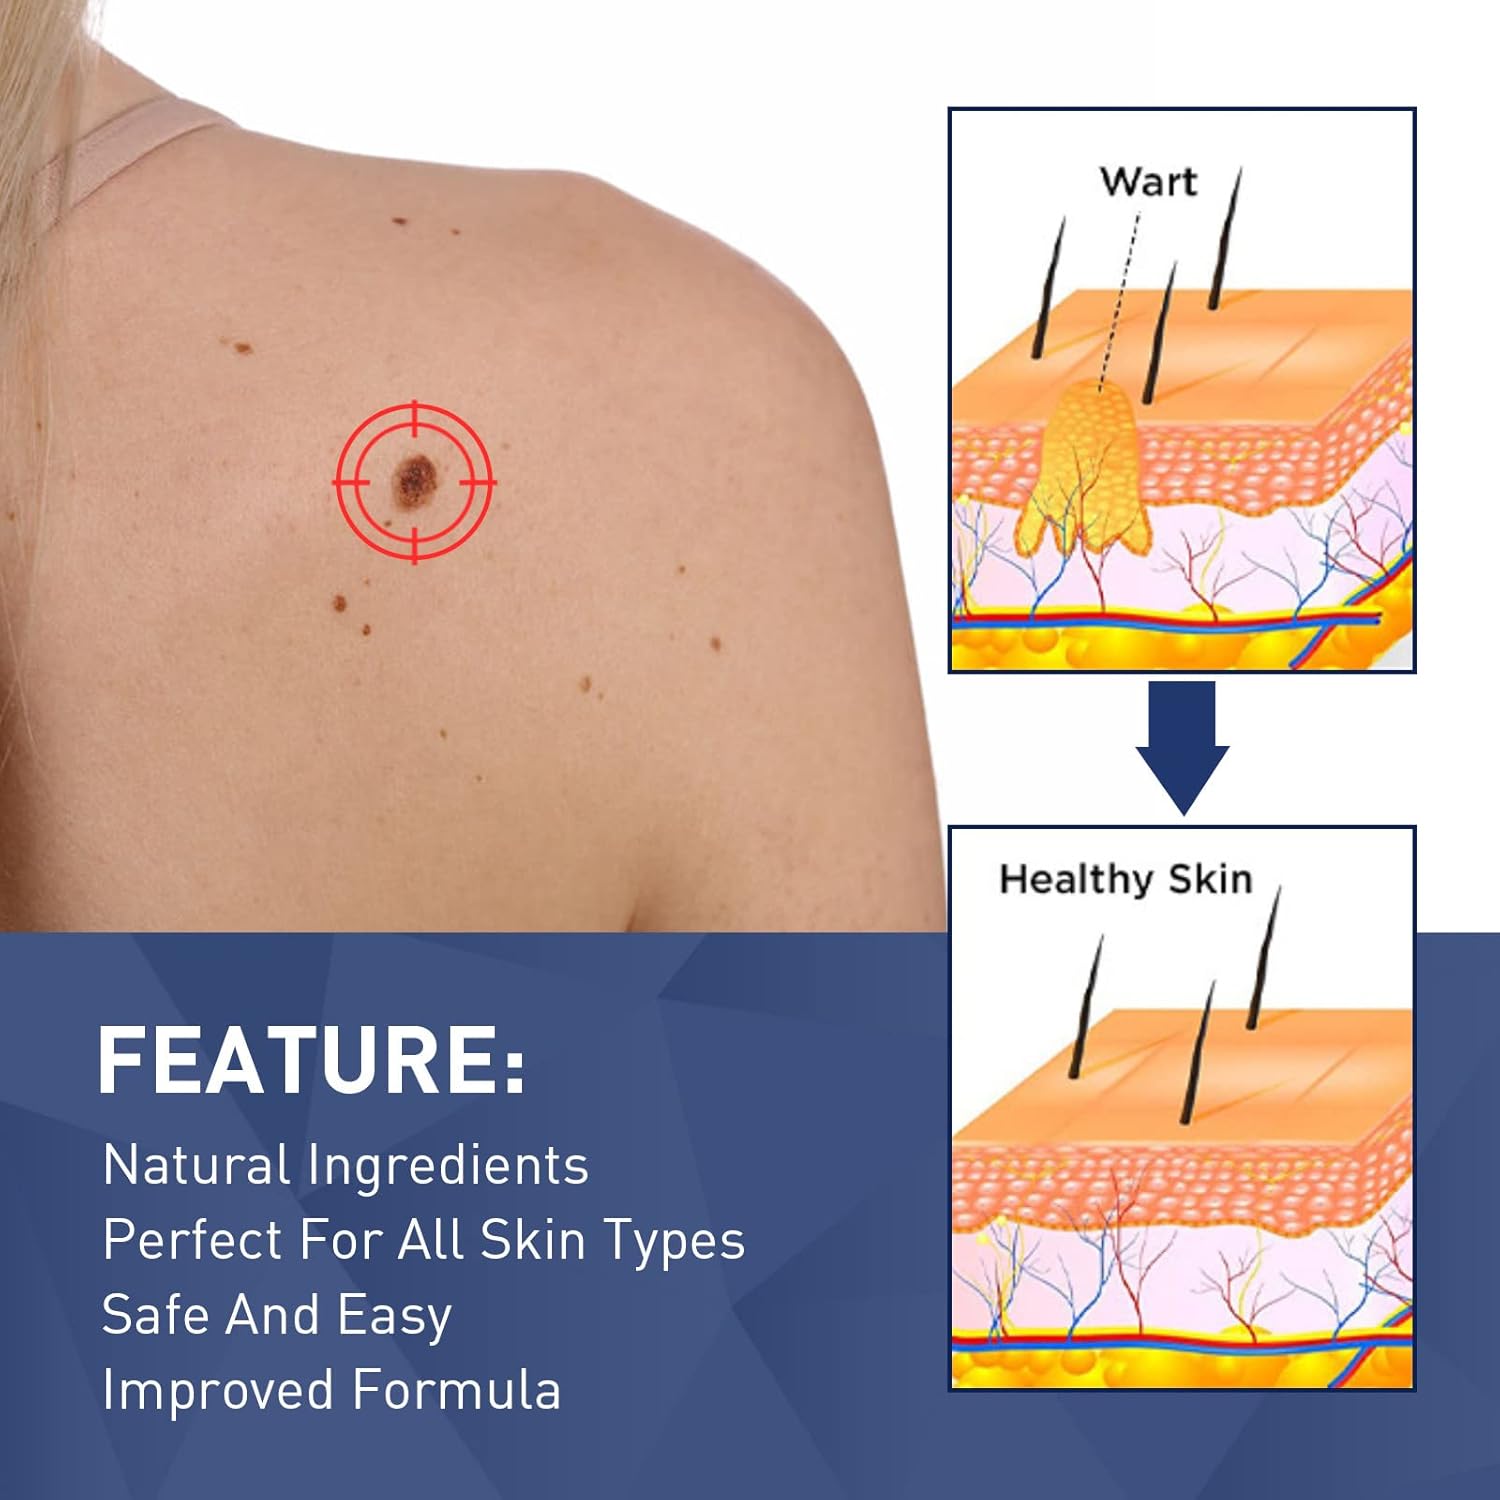
- What Is Wart Treatment and Why Is Skin Protection Crucial?
- How Can You Prepare the Skin Before Applying Wart Treatment?
- What Are the Best Physical Barriers for Skin Protection?
- Can You Use Liquid Bandages to Safeguard Healthy Skin?
- How Do You Safely Apply Acid-Based Wart Treatments?
- What Post-Treatment Care Is Essential for Skin Health?
- Which Signs of Skin Damage Should You Watch For?
- When Is It Necessary to Consult a Professional?
- Are There Natural Methods to Soothe Irritated Skin After Treatment?
- How Does Teseu’s Micro-current Technology Offer a Safer Alternative?
What Is Wart Treatment and Why Is Skin Protection Crucial?
Wart treatments aim to eliminate the wart-causing human papillomavirus (HPV) by destroying the infected skin cells. Methods range from over-the-counter chemical peels containing salicylic acid to professional procedures like cryotherapy (freezing), cantharidin application, or laser surgery. All these methods involve a controlled destruction of tissue. The primary challenge is that the agents or energy used to destroy the wart can easily damage the delicate, healthy skin surrounding it. This unintended damage is known as a chemical burn or irritation.
Protecting the surrounding skin is not just about comfort; it is fundamental to a successful and safe healing process. When healthy skin is compromised, it can lead to several complications. These include excessive pain, inflammation, blistering, and increased risk of bacterial infection. A poorly protected area can also result in scarring or changes in skin pigmentation (hypopigmentation or hyperpigmentation) long after the wart is gone. Therefore, creating a precise barrier is essential to contain the treatment exactly where it is needed—on the wart itself—ensuring a more effective outcome with minimal collateral damage and a smoother recovery.
How Can You Prepare the Skin Before Applying Wart Treatment?
Proper preparation is the first line of defense in protecting healthy skin. Before any treatment application, the entire area—wart and surrounding skin—must be clean and dry. Wash the area gently with a mild soap and warm water, then pat it dry thoroughly with a clean towel. Avoid scrubbing the wart, as this can cause it to bleed or spread the virus to other areas.
For many treatments, especially those involving salicylic acid, soaking the wart in warm water for 5-10 minutes can be beneficial. This step softens the tough, hyperkeratotic skin of the wart, allowing the medication to penetrate more effectively. After soaking, gently file the surface of the wart with a disposable emery board or pumice stone to remove the top layer of dead skin. It’s crucial to use a separate file for the wart that is not used on any other part of your body to prevent spreading the virus. Following this preparation, you are ready to apply a protective barrier to the healthy skin, ensuring the treatment is precisely targeted.
What Are the Best Physical Barriers for Skin Protection?
Creating a physical barrier is one of the most effective strategies to shield healthy skin from potent wart treatments. These barriers form a seal around the wart, preventing medication from seeping onto the surrounding epidermis. The goal is to isolate the wart completely, leaving only the targeted tissue exposed.
The most common and accessible barrier is petroleum jelly (like Vaseline). Using a cotton swab, apply a thick, generous ring of petroleum jelly around the base of the wart. Ensure the jelly circle is complete and makes full contact with the skin, leaving no gaps. Another excellent option is a zinc oxide-based diaper rash cream, which is designed to create a waterproof barrier on sensitive skin and can be equally effective.
For added precision, some wart treatment kits come with special applicator rings or pads. These are adhesive patches with a pre-cut hole in the center. You place the patch over the wart so that only the wart protrudes through the hole, covering all the surrounding healthy skin. This method offers a clean, mess-free way to ensure the treatment is applied with pinpoint accuracy.
Can You Use Liquid Bandages to Safeguard Healthy Skin?
Yes, a liquid bandage is an excellent and modern tool for protecting healthy skin during wart treatment. A liquid bandage is a polymer dissolved in a solvent that, when applied to the skin, dries to form a thin, transparent, and waterproof film. This creates a highly effective and durable barrier against caustic wart medications, offering distinct advantages over greasy ointments.
To use this method, simply paint the liquid bandage on the healthy skin directly surrounding the wart. Allow it a minute or two to dry completely before you apply the wart treatment. The resulting film is flexible, conforms perfectly to the skin’s contours, and won’t rub off as easily as petroleum jelly might. This makes it particularly useful for warts located in awkward areas or on parts of the body that experience a lot of movement, like fingers or feet. After the wart medication has dried, you can even apply a second layer of liquid bandage over the entire area (wart included) to seal the treatment in place and keep it from rubbing onto clothes or bedding.
How Do You Safely Apply Acid-Based Wart Treatments?
Salicylic acid is the most common active ingredient in over-the-counter wart removers. While effective, it is a keratolytic agent, meaning it works by breaking down skin protein (keratin). It cannot distinguish between the infected skin of the wart and the healthy skin nearby, so precise application is non-negotiable.
After you have prepared the skin and applied a protective barrier like petroleum jelly or a liquid bandage, you can proceed with the application. Most acid treatments come in liquid, gel, or pad form.
- For liquids and gels: Use the provided applicator brush or a cotton swab. Dab a small amount of the product directly onto the center of the wart. Avoid loading the applicator with too much product, as it can drip or run onto the protected skin. Let the medication dry completely.
- For medicated pads or plasters: Cut the pad to the exact size and shape of the wart. This minimizes contact with healthy skin from the start. After applying the pad, you can secure it with medical tape.
Always wash your hands thoroughly after application to prevent spreading the acid or the virus. Apply the treatment as directed, typically once or twice daily, and never use it on irritated, infected, or reddened skin. Consistency is key, but so is caution.
What Post-Treatment Care Is Essential for Skin Health?
Effective aftercare is just as important as the treatment itself for protecting your skin and promoting healing. Once the wart treatment (whether at-home or professional) has been administered, the area is vulnerable. The primary goals of post-treatment care are to prevent infection, manage discomfort, and support the skin’s natural recovery process.
First, keep the area clean and dry. After the initial application period, gently wash the area daily with mild soap and water. Pat it dry with a fresh, clean towel. Covering the treated wart with a sterile bandage or plaster is crucial. This not only protects the sensitive skin from friction and bumps but also prevents the virus from potentially spreading. Change the bandage daily or whenever it becomes wet or dirty.
If a blister forms, which is common after treatments like cryotherapy or cantharidin, do not pop it. The blister is a natural barrier protecting the healing skin underneath. Popping it can introduce bacteria and lead to infection and scarring. The blister will typically dry up and fall off on its own within a week or two. Adhering to these steps ensures the healthy skin surrounding the former wart site remains intact and heals without complication.
Which Signs of Skin Damage Should You Watch For?
While some mild irritation is expected, it’s important to monitor the treated area for signs of excessive damage or an adverse reaction. Knowing what to look for allows you to stop the treatment and seek advice before causing significant harm. Pay close attention to the healthy skin around the wart.
Discontinue treatment and consult a healthcare provider if you notice any of the following symptoms on the surrounding skin:
| Symptom |
Description |
| Severe Pain or Burning |
A mild sting is normal, but intense, persistent pain is a red flag that the treatment is too harsh or is damaging healthy tissue. |
| Intense Redness and Swelling |
Some pinkness is expected, but a deep red color that spreads significantly beyond the wart indicates a strong inflammatory reaction. |
| Pus or Yellow Discharge |
These are classic signs of a bacterial infection that requires medical attention. The area may also feel warm to the touch. |
| Widespread Blistering |
While a single blister on the wart is sometimes intended, multiple blisters or blistering on healthy skin is a sign of a chemical burn. |
| Open Sores or Ulcers |
If the skin breaks down and forms an open wound, stop all at-home treatment immediately to prevent infection and scarring. |
Reacting quickly to these warning signs is crucial. Continuing treatment in the face of these symptoms will only worsen the damage and complicate the healing process.
When Is It Necessary to Consult a Professional?
While many common warts can be managed at home, there are situations where professional medical advice is not just recommended, but essential. Self-treatment is not always the appropriate or safest course of action. It’s time to see a doctor or dermatologist if you encounter any of the following issues.
Seek professional care if the wart is located on a sensitive area, such as the face, genitals, or inside the mouth or nostrils. These areas have delicate skin, and improper treatment can lead to significant scarring or complications. Additionally, if you have an underlying health condition that affects your circulation or immune system, such as diabetes or an autoimmune disorder, you should not attempt to treat warts at home. Poor circulation can impair healing and increase the risk of infection and ulcers, especially on the feet.
You should also consult a professional if the wart is very large, painful, or bleeding, or if you have multiple warts that are spreading rapidly. A dermatologist can confirm the diagnosis (to ensure it isn’t a more serious skin condition) and offer more powerful and precise treatments like prescription-strength medications, cryotherapy, or laser removal, which minimize damage to surrounding tissue under expert supervision.
Are There Natural Methods to Soothe Irritated Skin After Treatment?
After treating a wart, the surrounding skin can sometimes become red and irritated despite your best protective efforts. Soothing this inflammation can make the healing process more comfortable. While these methods won’t treat the wart itself, they can help calm the healthy skin that was accidentally affected.
Aloe vera gel is well-known for its cooling and anti-inflammatory properties. Applying pure aloe vera gel to the irritated skin around the wart can provide immediate relief from stinging and redness. Ensure you use a product that is 100% aloe vera without added alcohol, which could cause further irritation. Another effective option is a calendula cream or ointment. Calendula is a plant extract known for its wound-healing and skin-soothing capabilities, making it ideal for calming minor skin irritations and promoting recovery.
A simple, cool compress can also work wonders. Soak a clean cloth in cool water, wring it out, and apply it to the irritated area for 10-15 minutes. This can help reduce swelling and discomfort. It is critical to use these soothing agents only on the surrounding intact skin, not on the treated wart itself or on any broken skin, to avoid interfering with the treatment or causing an infection.
How Does Teseu’s Micro-current Technology Offer a Safer Alternative?
Traditional wart treatments inherently carry the risk of damaging surrounding healthy skin because they rely on chemical or thermal destruction. In contrast, emerging technologies offer a more targeted and less destructive approach. The Teseu micro-current wart remover represents a significant advancement in at-home skin treatment, prioritizing safety and precision.
Unlike acids or freezing agents that can easily spread, Teseu utilizes controlled micro-currents. This technology targets only the wart tissue with exceptional accuracy. The device is designed to work on the wart itself without affecting the surrounding healthy epidermis, virtually eliminating the risk of chemical burns, irritation, and collateral damage. This precision removes the need for cumbersome protective barriers like petroleum jelly or complex application procedures.
This pain-free method is gentle enough for use on various parts of the body, offering a stress-free experience without the typical sting or discomfort of conventional methods. By focusing energy directly and intelligently, Teseu provides an effective solution that not only removes the wart but also fully preserves the health and integrity of your surrounding skin, ensuring a clean and scar-free result.