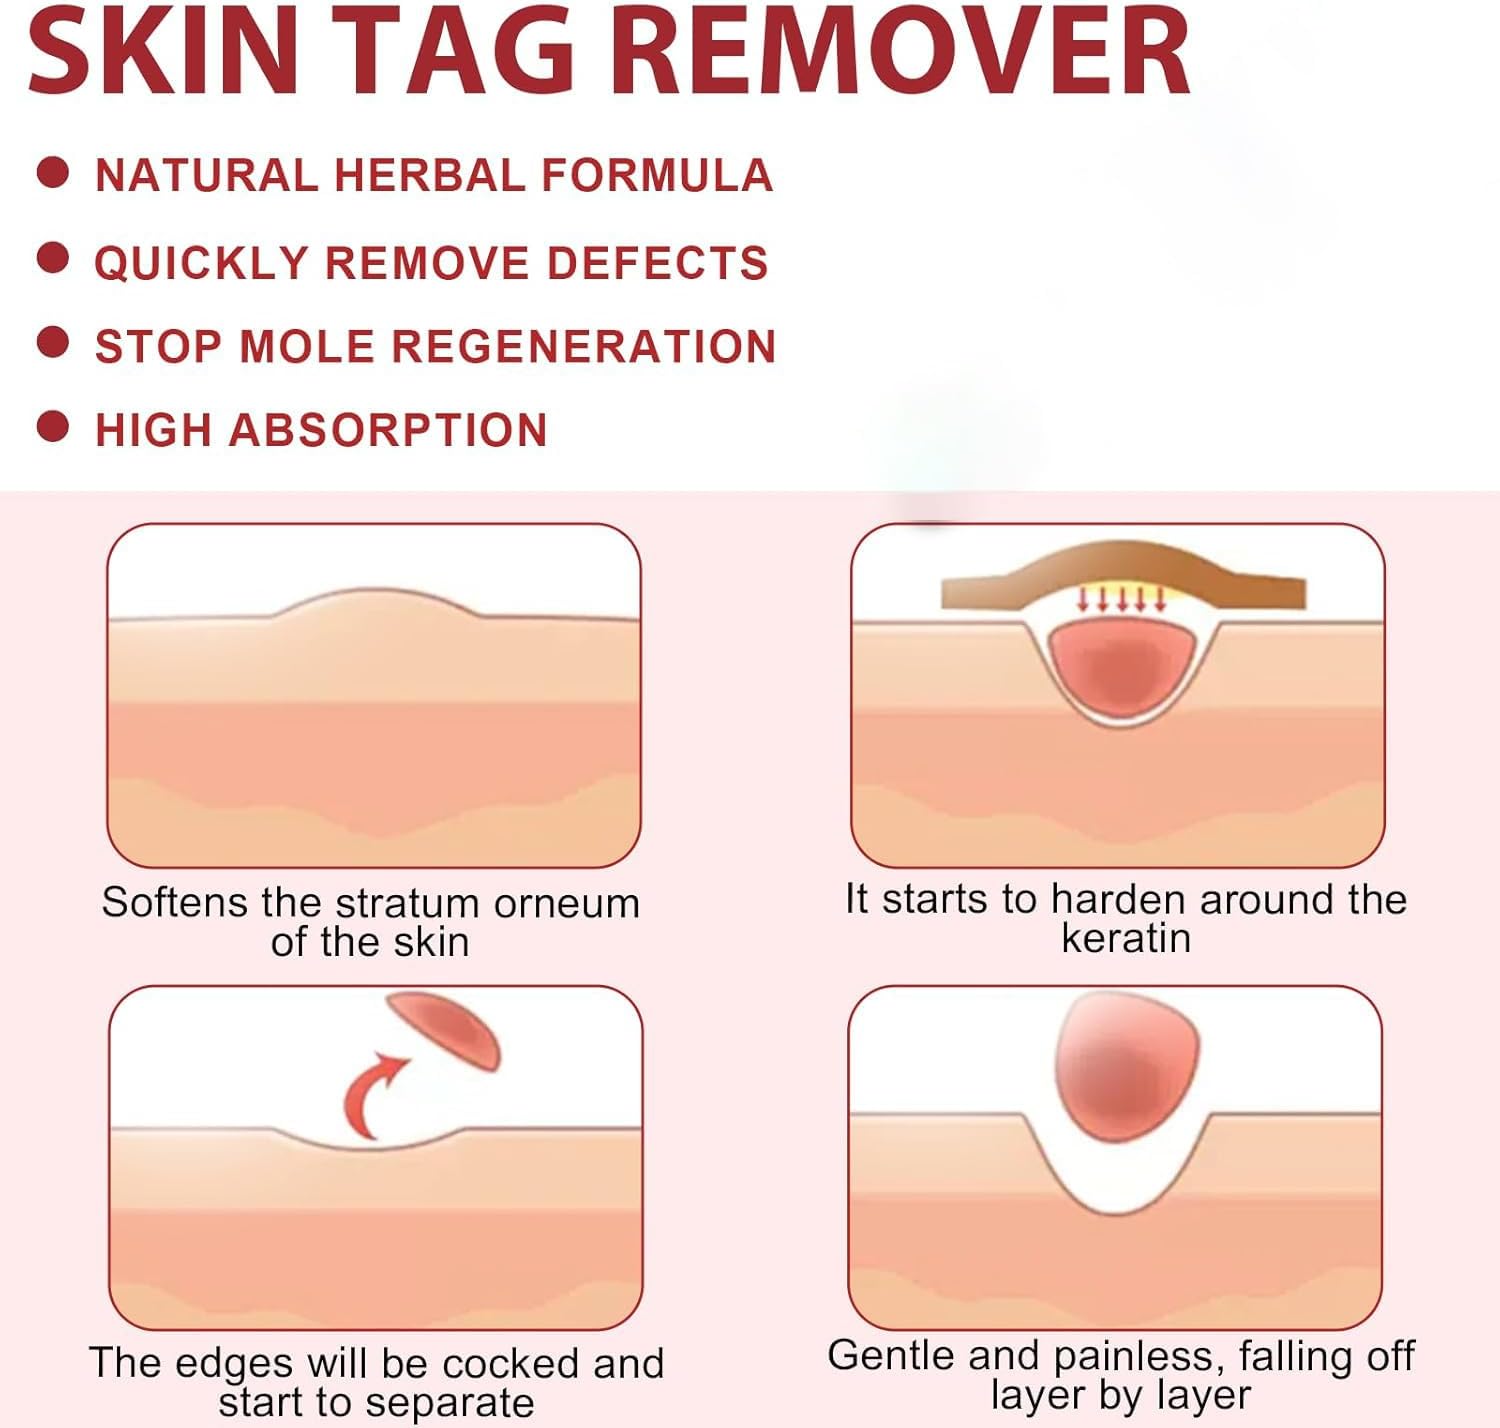
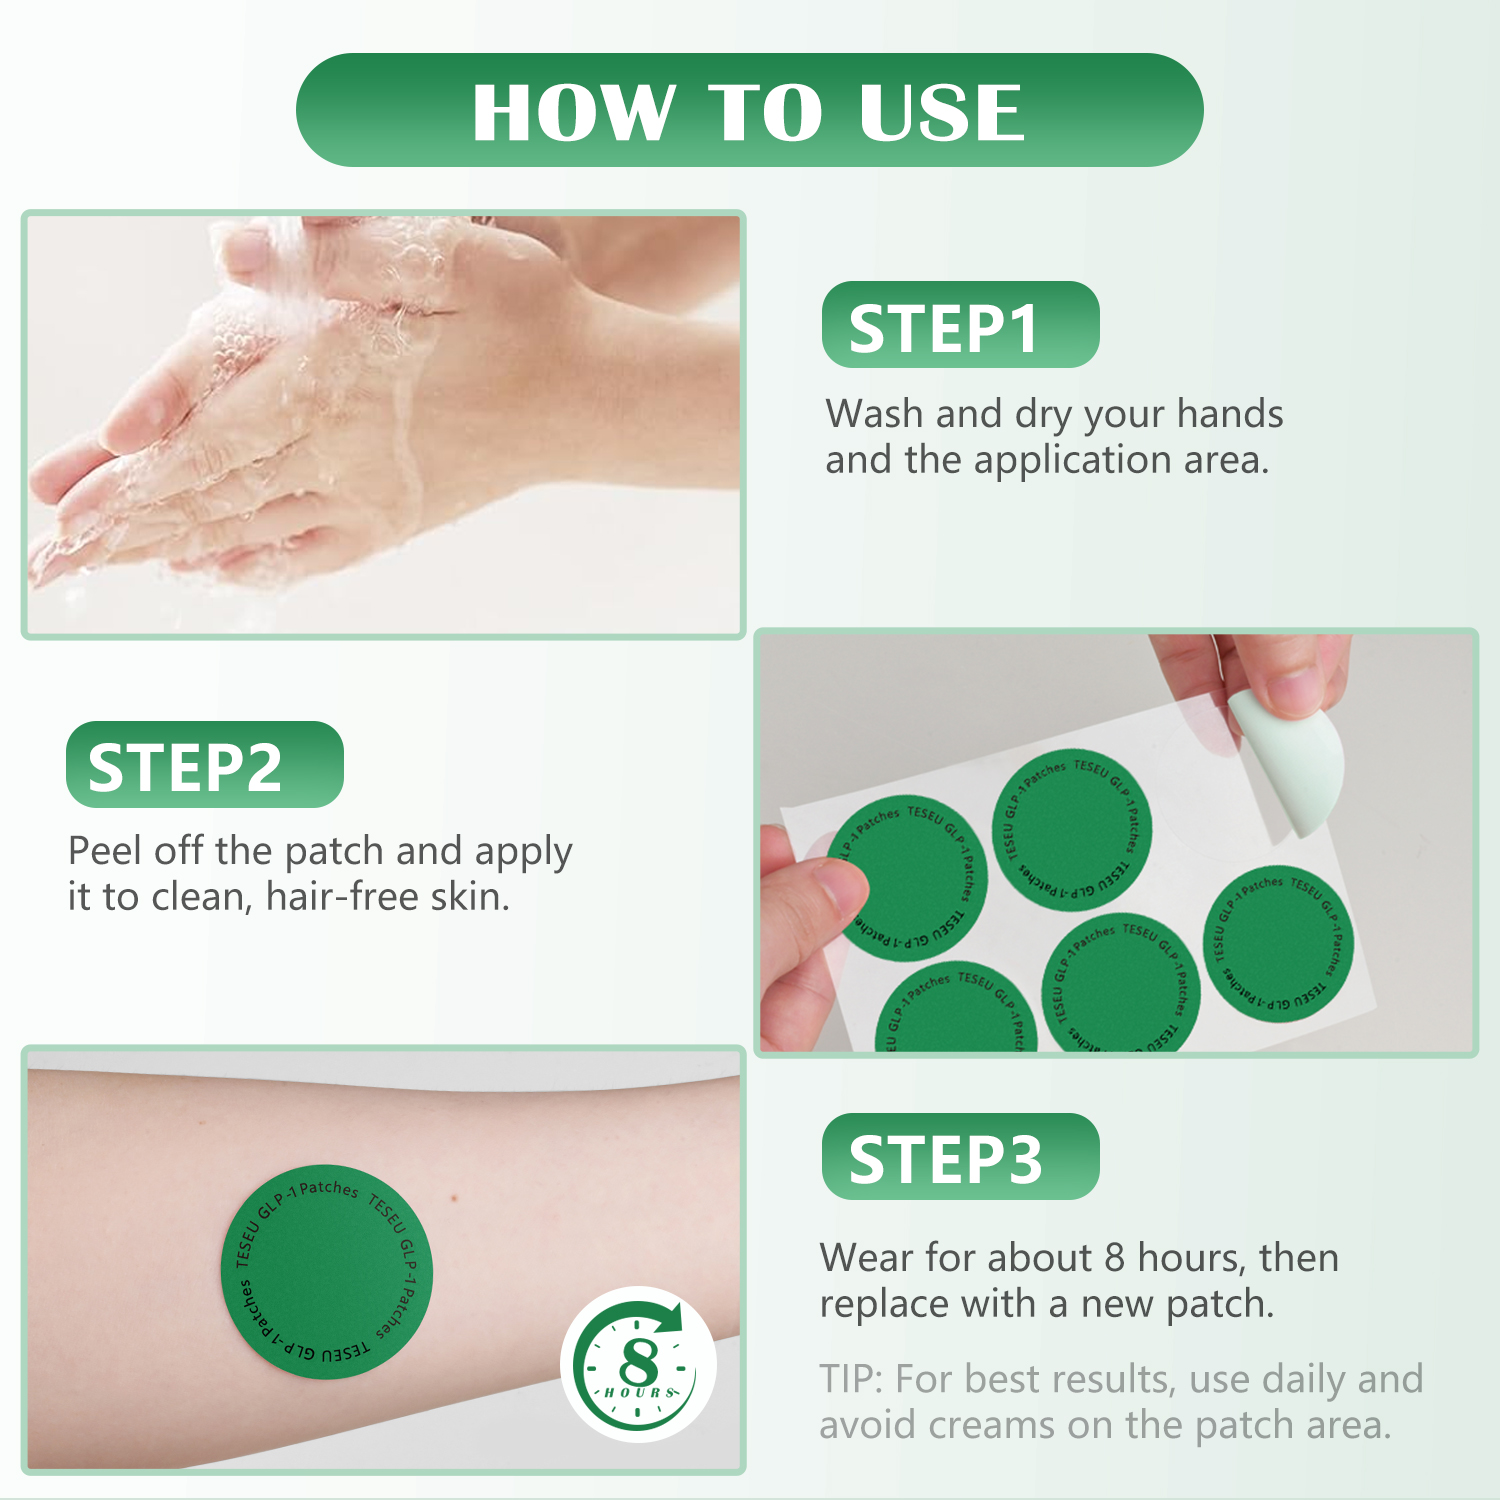
Applying a skin tag removal liquid precisely is crucial for effectively targeting the skin tag while safeguarding the surrounding healthy skin. The correct method involves thoroughly cleaning the area, protecting the surrounding skin with a barrier like petroleum jelly, using a fine-tipped applicator to apply a minimal amount of liquid directly and only onto the skin tag, and allowing it to dry completely. This careful process minimizes irritation and ensures the active ingredients work only where needed. For those seeking an effective at-home solution, understanding the proper technique is the first step toward achieving clear, smooth skin.
Table of Contents
Understanding How Skin Tag Removal Liquids Work
Most over-the-counter skin tag removal liquids are formulated with mild acids or natural caustic agents that work by breaking down the tissue of the skin tag, medically known as an acrochordon. When applied correctly, these solutions dehydrate the cells within the tag, causing it to shrink, darken, and eventually fall off over a period of several days to a few weeks. The active ingredients are designed to be potent enough to affect the targeted tissue but require precise application to avoid impacting the healthy epidermis surrounding the blemish.
Ingredients commonly found in these products include salicylic acid, which is a keratolytic agent that dissolves skin protein, or natural components like tea tree oil or Thuja occidentalis. Products like the Teseu Skin Tag Remover are developed with carefully balanced formulas that aim to provide effective results while being gentle enough for home use. The mechanism relies on a controlled chemical Cauterization, which is why precision is not just recommended; it is fundamental to the process’s success and safety.
What Are the Essential Pre-Application Steps for Safe Removal?
Before you even open the bottle, a few preparatory actions can dramatically improve the safety and effectiveness of the treatment. Rushing this stage can lead to skin irritation or poor results, so investing a few minutes in preparation is key.
Step 1: Confirm It Is a Skin Tag
It is absolutely vital to be certain that the growth you intend to treat is a skin tag and not another type of skin lesion, such as a mole, wart, or a potentially cancerous growth. Skin tags are typically small, soft, flesh-colored or slightly darker growths that hang off the skin from a thin stalk or peduncle. They are benign and commonly appear in areas where skin rubs against skin, like the neck, armpits, and groin. If you have any doubt, or if the growth is hard, multicolored, has an irregular border, is bleeding, or has changed in appearance, consult a doctor or dermatologist for a professional diagnosis before attempting any at-home removal.
To ensure a smooth and precise application, have everything you need within reach. This prevents fumbling and potential spills. A typical setup would include:
- The skin tag removal liquid (e.g., Teseu Skin Tag Remover)
- Mild soap and water
- A soft, clean cloth
- A skin protectant like petroleum jelly or a similar barrier cream
- Cotton swabs or the product’s specific applicator (a fine brush or micro-applicator is ideal)
Step 3: Prepare the Skin Area
The target area must be clean and completely dry. Use a mild, non-moisturizing soap and warm water to wash the skin tag and the surrounding patch of skin. This removes oils, dirt, and bacteria that could otherwise interfere with the liquid’s absorption or cause an infection. Pat the area dry with a clean cloth. Do not rub vigorously, as this can irritate the skin tag. Wait a few moments to ensure all moisture has evaporated before proceeding.
How Do You Apply the Liquid with Precision? (A Step-by-Step Process)
This is the most critical part of the process, where care and steadiness directly influence the outcome. The goal is to isolate the skin tag for treatment completely.
Step 4: Protect the Surrounding Skin
To prevent the active formula from touching healthy skin, create a protective barrier. Apply a thin layer of petroleum jelly in a circle around the base of the skin tag. Be careful not to get any of the jelly on the skin tag itself, as this will prevent the removal liquid from working. This simple barrier acts as a shield, ensuring the potent liquid only affects the targeted tissue. Some kits may come with protective patches or rings, which serve the same purpose.
Step 5: Apply the Liquid Correctly
Read the specific instructions that came with your chosen product, as application times and frequency can vary. Using the provided applicator or a fine-tipped tool, pick up a very small amount of the liquid—less is more. Gently and precisely dab the liquid directly onto the head and body of the skin tag. Ensure you cover its surface but do not allow the liquid to drip or run down onto the protected skin. If your skin tag is on a thin stalk, focus the application there. For flatter tags, cover the entire surface evenly. Avoid applying excessive pressure.
Step 6: Allow It to Dry and Observe
Remain still for a few minutes to allow the liquid to air dry completely. This prevents it from smearing onto adjacent skin or clothing. You may feel a mild, temporary stinging or tingling sensation upon application; this is often normal. However, if you experience intense burning or pain, you should immediately wash the area with soap and water and discontinue use. Once dry, you can go about your day. Depending on the product, you may be instructed to reapply once or twice daily for several days.
What Does Post-Application Care Involve?
Proper care after applying the liquid is just as important as the application itself. This phase ensures the skin heals correctly and minimizes the risk of scarring or infection.
Initial Care After Application
In the days following the initial application, the skin tag will likely darken and shrink. It is crucial to keep the area clean and dry. Avoid picking at or scraping the tag, even if it starts to form a scab. Let the process happen naturally. While bathing, try to avoid soaking the area for extended periods. When the skin tag eventually falls off, a small, pink mark may be left behind.
Long-Term Healing and Scab Care
Once the skin tag has detached, continue to care for the underlying skin. A small scab will form. Do not pick the scab. This is your body’s natural bandage. Picking it can lead to infection and increase the likelihood of scarring. You can apply a healing ointment or a dab of petroleum jelly to keep it moist, which can promote better healing. Once the scab falls off on its own, protect the new, delicate skin from the sun with a broad-spectrum SPF 30+ sunscreen to prevent discoloration.
Which Common Application Mistakes Should You Avoid?
Even with the best intentions, mistakes can happen. Being aware of them is the best way to ensure a successful outcome.
| Mistake |
Why It’s a Problem |
How to Avoid It |
| Applying Too Much Liquid |
Causes the solution to drip onto healthy skin, leading to burns, irritation, and potential scarring. |
Use only a minimal amount on a fine-tipped applicator. Dab, don’t drench. |
| Skipping the Skin Protectant |
Leaves healthy surrounding skin vulnerable to the caustic effects of the removal liquid. |
Always apply a barrier like petroleum jelly in a ring around the skin tag’s base. |
| Treating the Wrong Blemish |
Attempting to remove a mole, wart, or skin cancer can be ineffective and dangerous, delaying proper diagnosis. |
If you are not 100% sure it’s a skin tag, see a doctor before trying any at-home treatment. |
| Picking at the Scab or Tag |
Interrupts the natural healing process, inviting infection and increasing the risk of permanent scarring. |
Be patient. Let the skin tag and subsequent scab fall off on their own schedule. |
When Should You Consult a Professional Instead?
While at-home skin tag removers like those from Teseu offer a convenient and effective option for many, they are not suitable for every situation. You should forgo home treatment and consult a dermatologist under the following circumstances:
- Location: The skin tag is in a highly sensitive area, such as near the eyes, on the genitals, or inside the nose or mouth.
- Uncertainty: You are not certain the growth is a skin tag.
- Size and Number: The skin tag is very large, or you have a great number of them that you want removed at once.
- Medical Conditions: You have diabetes, poor circulation, or a weakened immune system, which can complicate healing and increase infection risk.
- Adverse Reaction: You experience significant pain, swelling, or signs of a severe reaction after applying a home-use product.
In these cases, a professional can offer alternative removal methods such as cryotherapy (freezing), electrocautery (burning), or surgical excision, which are performed in a sterile and controlled clinical environment.